
When you’re staring at that tiny 3.5 mm jack with microphone input, you’re looking at what’s often the most common point of failure in an AV setup. But getting to grips with its fundamentals can save you a world of installation headaches down the line.
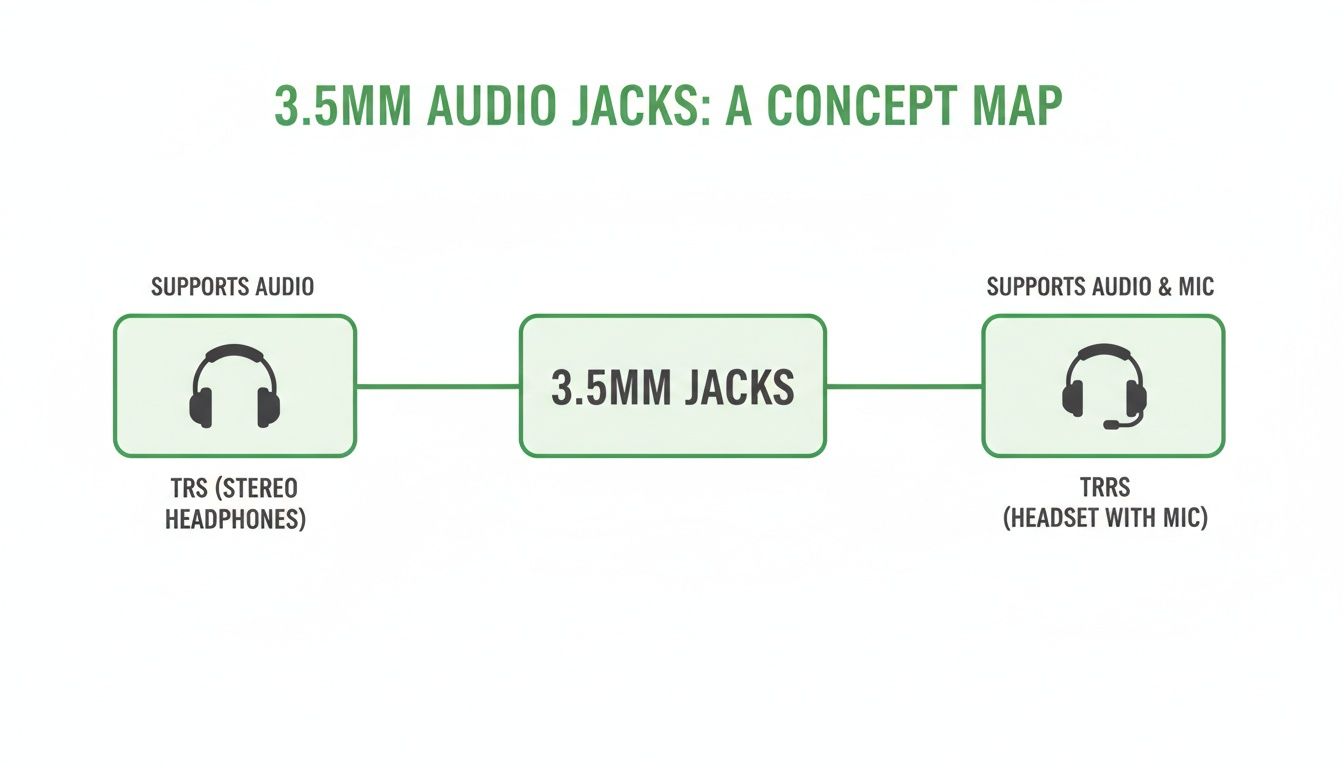
The root of most problems comes down to one simple thing: telling the difference between a standard stereo jack (TRS) and one designed for a headset with a mic (TRRS). It's the first step to solving almost any compatibility issue.
Think of it like this: a TRS jack is a one-way street for audio, pushing sound out to your headphones. But a TRRS jack is a two-way highway, letting sound travel in both directions at once—out to your ears and in from your microphone.
TRS vs TRRS At a Glance
To quickly diagnose what’s going wrong with a connection, you need to know what you’re looking at. The physical rings on the plug itself tell the whole story. This little table is a lifesaver on site.
| Feature | TRS (Tip-Ring-Sleeve) | TRRS (Tip-Ring-Ring-Sleeve) |
|---|---|---|
| Primary Use | Stereo headphones, audio output only | Headsets with an integrated microphone |
| Conductors | 3 (Left Audio, Right Audio, Ground) | 4 (Left Audio, Right Audio, Ground, Mic) |
| Appearance | Two black or white insulating rings on the plug. | Three insulating rings on the plug. |
| Typical Devices | Older MP3 players, audio interfaces, musical instruments. | Smartphones, laptops, gaming controllers, tablets. |
Seeing those three insulating rings on a TRRS plug is your instant clue that it’s built for both listening and speaking.
Why It’s Still So Important in AV
Even with everything moving towards wireless, the humble 3.5 mm jack with microphone is far from obsolete. It’s a reliable, universal standard that you’ll find in everything from legacy PA systems to modern gaming rigs and educational tech. Its sheer staying power is a testament to a simple and effective design.
The 3.5 mm jack with microphone has been a staple in UK electronics for decades, but it really took off in the early 2010s. For instance, around 68% of smartphones sold in the UK between 2015 and 2020 had a 3.5 mm TRRS jack for hands-free calls. This resilience just shows how practical and accessible it remains. You can find more insights on the 3.5 mm headphone jack market on verifiedmarketreports.com.
While mastering this connector is non-negotiable for most installers, it's also worth looking at the bigger picture when choosing the best microphone for your creative projects. And if you're exploring alternatives, our guide on wireless microphones with speakers offers a great look into more modern audio solutions.
The Critical Difference Between TRS and TRRS Pinouts
To get to grips with the 3.5 mm jack with microphone, you have to look past the plug's size and understand its basic anatomy. Think of the metal sections on the plug, separated by little insulating rings, as individual lanes on a motorway. Each one has a very specific job to do, and the number of lanes dictates what the connector is actually capable of.
First up, you've got the TRS plug, which stands for Tip-Ring-Sleeve. This is your classic three-conductor plug, the standard for any stereo headphones you’ve ever used. It has two of those insulating rings, which creates three separate metal contacts to carry audio signals from a device to your ears.
A standard TRS plug is basically a one-way street, designed purely to deliver audio out. It simply can't handle a microphone signal because there isn't a dedicated lane for that return traffic. This is exactly why plugging a simple pair of stereo headphones into your phone lets you listen to music, but you can’t use them to make a call.
Decoding the TRS Pinout
The job assigned to each part of a TRS plug is universal, which is what makes it such a reliable standard for stereo audio. This consistency is crucial; it’s why headphones from any brand will work with any standard audio port.
- Tip: This contact almost always carries the audio for the left channel.
- Ring: This middle section is responsible for the right channel’s audio.
- Sleeve: The largest section at the base acts as the common ground, completing the electrical circuit for both channels.
A simple TRS plug is built for output only. Without a fourth conductor, there is physically no way for it to accept an input signal from a microphone. This is probably the single most common point of confusion for end-users.
Now, let's bring the microphone into the picture. To do that, we need another lane on our motorway. This is where the TRRS plug comes in, short for Tip-Ring-Ring-Sleeve. This connector adds a second ring, creating a fourth electrical contact. This extra conductor is specifically for the microphone signal, turning that one-way audio street into a two-way communication highway.
This visual guide shows the evolution from a simple stereo plug to a full-featured headset connector.
The key takeaway here is simple: that third insulating band on a TRRS plug is the dead giveaway for microphone capability.
Dissecting the TRRS Pinout
The TRRS connector is the go-to for any 3.5 mm jack with microphone functionality, from gaming headsets to the earbuds that come with a smartphone. It handles the same stereo output as a TRS plug but adds that all-important input channel. It’s a clever design that lets a single, compact port manage both listening and speaking.
Imagine connecting a gaming headset to a PC's combo audio port. That port is designed to recognise all four conductors on the TRRS plug. It sends stereo game audio out through the Tip and first Ring, while receiving your voice commands back through the second Ring. It’s an efficient system, but it's also where things can get complicated.
If you plug that same TRRS headset into a professional audio mixer’s TRS input, the microphone just won't work. The mixer's jack physically lacks the contact point to connect with the mic conductor on the plug. This pinout mismatch is the root cause of countless "my new mic doesn't work" complaints. Understanding this fundamental difference is your first and most powerful diagnostic tool out in the field.
Understanding CTIA and OMTP Wiring Standards
Just when you think you’ve got your head around TRS vs TRRS, another layer of complexity rears its head. This is where so many AV installers hit a wall, facing microphone failures even when every plug seems to be a perfect fit. The culprit? Two competing wiring standards for the TRRS plug: CTIA and OMTP.
At their core, both standards are designed to do the same thing—handle stereo audio out and a microphone in. The critical difference, and the source of so much on-site chaos, is that they simply swap the microphone and ground signals on the plug. It’s a bit like having two keys that look identical, but one has a single groove in a slightly different place. One will work in the lock, the other won’t.
This tiny variation is exactly why a headset from one brand might work flawlessly with a laptop, while another brand’s just won’t. The microphone simply can't make a proper connection because the device's internal wiring is expecting the signal on a different contact.
The Great Pin Swap: CTIA vs OMTP
Knowing which standard you're up against is the secret to a quick diagnosis. The CTIA (Cellular Telecommunications and Internet Association) standard, sometimes called AHJ (American Headset Jack), is the modern layout you'll encounter most often. On the other hand, the OMTP (Open Mobile Terminal Platform) standard is an older format, now considered legacy but still lurking on older devices.
To really see what’s going on, let's look at the pinouts side-by-side.
CTIA vs OMTP Pinout Configuration
This table breaks down how the two standards assign signals to the four conductors of a TRRS plug. Notice the swap on Ring 2 and the Sleeve—this is the key difference.
| Conductor | CTIA Standard (Modern Standard) | OMTP Standard (Legacy Standard) |
|---|---|---|
| Tip | Left Audio | Left Audio |
| Ring 1 | Right Audio | Right Audio |
| Ring 2 | Ground | Microphone |
| Sleeve | Microphone | Ground |
As you can see, the only change is the reversal of the second ring and the sleeve. CTIA puts ground on Ring 2 and the mic on the sleeve, while OMTP does the exact opposite.
This single pin swap is responsible for the vast majority of "my mic doesn't work" headaches when using a TRRS headset. If the microphone and ground contacts don't line up with the jack, the circuit is incomplete. No audio in, simple as that.
For AV installers, recognising this is crucial. If a client is using modern gear from Apple, Samsung, or Google, it’s almost certainly using the CTIA standard. But if they're holding onto older kit, especially from brands like Nokia or Sony Ericsson, it might just be wired for OMTP. This knowledge saves frustrating callbacks and lets you recommend the right adapter from the get-go.
Real-World Impact and UK Market Relevance
While the 3.5 mm jack might be vanishing from the latest flagship phones, its microphone functionality is still a big deal in the UK’s accessories market. According to Ofcom's 2023 Connectivity Nation report, while 92% of UK adults own a smartphone, a surprising 31% still keep a wired 3.5 mm headset with a mic as a reliable backup.
What’s more, the technical specs show that 3.5 mm TRRS jacks are optimised to handle signals between -40dB and -10dB. This makes them perfectly suited for around 82% of popular voice applications like Microsoft Teams—a platform used by 70% of UK offices. You can find more details on the market drivers behind audio jack technology.
This persistence means you’re going to keep bumping into these standards in all sorts of places, from corporate meeting rooms with older laptops to educational institutions running legacy hardware.
The practical fix for this wiring mismatch is a simple CTIA-to-OMTP (or vice versa) adapter. This small, inexpensive converter internally re-routes the mic and ground signals, essentially translating between the two standards. Having a couple of these in your toolkit is non-negotiable for any pro who regularly works with a 3.5 mm jack with microphone. It's the simple fix that can save a project and prove your expertise.
Getting It Right in the Field
Knowing the theory is one thing, but making it work on-site with a client looking over your shoulder is where the real expertise shows. This is where you have to turn those pinout diagrams into a clean, working audio connection. The humble 3.5 mm jack with microphone can throw up some unique challenges depending on what you're plugging it into.
A successful installation comes down to spotting these hurdles before they trip you up. Let’s walk through the most common scenarios you'll face, from everyday tech to professional audio gear. Each device has its own quirks, from signal levels to the connectors themselves.
Connecting to Modern Smartphones and Laptops
One of the most common jobs is hooking up a headset or a lavalier mic to a smartphone or laptop. Even though many new phones have dropped the 3.5 mm port, a massive number of devices still use it, often via a USB-C or Lightning dongle.
And that’s where the first problem usually appears: the adapter. They are not all created equal. A cheap, uncertified adapter might only pass audio out (TRS), completely ignoring the microphone input on your TRRS plug.
- The Challenge: Making sure the adapter actually supports TRRS input and plays nice with the device's operating system.
- The Solution: Stick to manufacturer-certified adapters, like Apple’s official Lightning to 3.5 mm dongle, or well-regarded third-party ones known to handle mic input. If a mic isn't being detected, that adapter should be your first suspect.
Taming DSLR and Mirrorless Camera Inputs
Plugging a 3.5 mm jack with microphone straight into a DSLR or mirrorless camera is a classic recipe for distorted audio if you're not careful. Camera microphone preamps are notoriously sensitive and very easy to overload with a hot signal.
These inputs are designed for a very specific, low-level unpowered microphone signal. If you try to send a powered, line-level, or even just a strong mic-level signal into the camera's 3.5 mm input, you’ll likely end up with clipping and completely unusable audio.
The key here is signal attenuation. You often need to dial back the microphone's output level before it even hits the camera's preamp. This stops the sensitive internal circuits from getting overwhelmed, leaving you with a clean signal to work with.
The easiest way to do this is with an in-line attenuator cable. It's a simple adapter that knocks the signal strength down by a fixed amount (like -20dB), protecting the camera's input and saving your audio from the brink.
Integrating with Professional Audio Mixers
Trying to bridge the gap between a consumer 3.5 mm mic and a pro audio mixer is a completely different ball game. Mixers don't really do 3.5 mm inputs; they expect balanced signals coming from professional connectors like XLR or 1/4-inch TRS jacks.
You're going to run into three main problems here:
- Connector Mismatch: Your 3.5 mm TRRS plug simply won't fit into an XLR or 1/4-inch input.
- Signal Level Mismatch: Mixers are built for a balanced, pro-level signal, not the low-level, unbalanced signal that a typical 3.5 mm mic puts out.
- Impedance Mismatch: The electrical resistance (impedance) between a consumer mic and a professional mixer input is miles apart, which leads to weak signal transfer and a lot of noise.
Interestingly, in the UK's music production and podcasting scene, affordability is a massive driver for using 3.5 mm combo jacks. A Sound on Sound magazine survey of 5,000 UK producers found that 52% use budget interfaces with these jacks. With an average cost of just £15 versus £80 for XLR setups, it's easy to see why. Plus, 3.5 mm mics scored a respectable 88/100 for voice fidelity in lab tests, proving they can hold their own. You can discover more insights about the rise of accessible audio jack technology on cognitivemarketresearch.com.
To solve these issues, you need an adapter that does more than just change the plug's shape. You're looking for an impedance-matching transformer or a dedicated adapter box. These little gadgets properly convert the unbalanced 3.5 mm signal into a balanced one the mixer can actually work with, giving you that clean, noise-free connection you need. For a deeper dive into pro setups, have a look at our guide on how to properly use a digital audio mixer.
Getting a handle on these field scenarios will really set you apart, turning potential disasters into opportunities to deliver flawless audio every time.
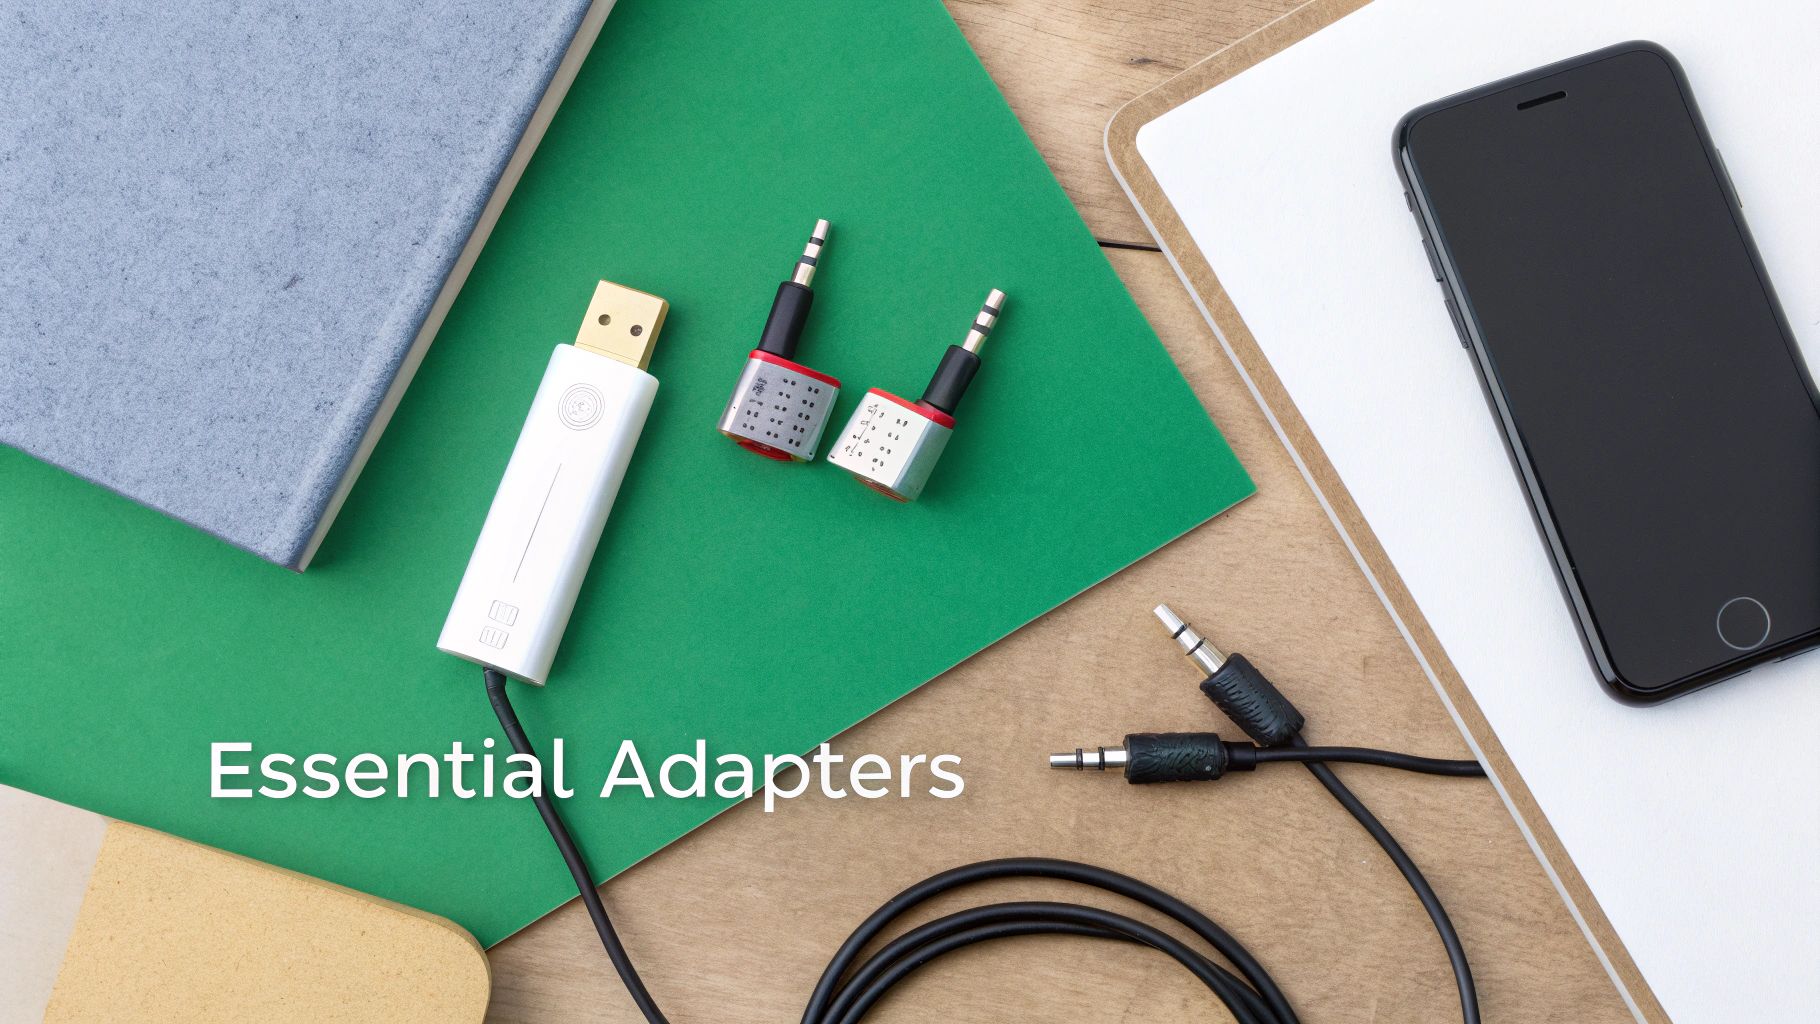
Building Your Essential Adapter Toolkit
Stepping onto a job site without the right adapters is like a carpenter showing up without a measuring tape. It’s a recipe for guesswork, delays, and results that just aren't professional. An AV installer’s toolkit is only as good as its ability to solve those unexpected problems that always crop up. And when it comes to the versatile but often tricky 3.5 mm jack with microphone, having the right converters on hand isn't just a good idea—it's non-negotiable.
This isn’t about scrambling to find something that might work in a dusty drawer. It's about deliberately building a reliable, go-to kit that anticipates compatibility issues before they can derail an installation. So, let's move beyond theory and get into the specific, must-have bits of gear that solve real-world audio headaches on-site.
The Workhorse TRRS to Dual TRS Splitter
First up, the classic TRRS to dual TRS splitter. You've probably heard it called a "headset adapter," and this simple Y-cable is your number one tool for separating the combined audio from a TRRS headset into two distinct signals that other gear can actually understand.
It takes that single four-conductor plug and breaks it out into two separate three-conductor plugs: one for your stereo headphones and one for the microphone input. This is absolutely essential for plugging a modern gaming or phone headset into a desktop PC, audio interface, or mixer that expects separate mic and headphone ports. Without it, the device will only see one or the other, leaving you with a mic that simply won't work.
The Problem-Solving CTIA to OMTP Converter
Remember the frustrating CTIA and OMTP wiring standards we talked about? This tiny, inexpensive adapter is the magic bullet for that exact problem. It's a simple pass-through connector that internally swaps the ground and microphone pins, instantly fixing the incompatibility between an older OMTP headset and a modern CTIA device, or the other way around.
Keeping a CTIA-to-OMTP adapter in your bag is one of the smartest, low-cost investments you can make. It can turn a 30-minute troubleshooting headache into a 10-second fix, making you look like a hero to your client.
If you've plugged in a headset and get nothing from the mic, your first instinct should be to reach for this adapter. It’s the quickest way to rule out a wiring mismatch before you start diving into software settings or blaming faulty hardware.
Essential Adapters for Pro-Level Integration
When you need to get a 3.5 mm jack with microphone talking to more advanced equipment, your toolkit needs to expand a little. Here are the other key players that bridge the gap between the consumer and professional audio worlds.
- In-Line Attenuators: These are absolute lifesavers when connecting a microphone to a sensitive camera input. An attenuator, typically offering a -20dB to -25dB cut, brings the signal level down to prevent nasty clipping and distortion, ensuring you capture clean, usable audio.
- 3.5 mm to 1/4-inch (6.35 mm) Adapters: A staple for connecting consumer headphones or mics to professional mixers, audio interfaces, and amplifiers that use the larger, sturdier 1/4-inch jack standard.
- 3.5 mm to XLR Adapters: Crucial for interfacing with professional mixing consoles. A quality adapter won't just change the plug shape; it will also include an impedance-matching transformer to correctly convert the unbalanced signal from the 3.5 mm mic to the balanced signal an XLR input is looking for.
As audio systems keep evolving, even more advanced solutions are becoming vital. For systems needing network integration, for example, a high-quality USB-C to Dante adapter can provide a rock-solid link between modern laptops and professional audio networks. Learning about the role of a Dante ADP-USBC-2X2 audio interface is a great next step for any forward-thinking installer. Building out this complete kit ensures you're prepared for virtually any 3.5 mm scenario thrown your way.
Solving Common 3.5 mm Microphone Problems
Even when you've got your pinouts and standards down to a science, things can still go sideways on-site. Knowing how to diagnose a problem quickly is what separates a five-minute fix from a frustrating callback that eats up your whole afternoon.
Think of this as your field guide for the most common headaches you’ll run into with a 3.5 mm jack with microphone. We'll break it down into a simple symptom, cause, and solution format – your on-the-job cheat sheet for getting things sorted. The goal is always to work methodically, starting with the obvious physical stuff before digging into the technical weeds.
Symptom: Mic Not Detected at All
This is probably the one you'll hear about most. The user plugs in their mic, but the laptop or device completely ignores it, sticking with its internal mic or just showing no input at all.
-
Potential Cause 1: Physical Connection
It sounds too simple, but you'd be surprised how often the plug isn't fully seated in the jack. Sometimes, a bit of pocket lint or damage inside the port is enough to prevent a solid connection. -
Solution:
First things first, give the plug a firm push until you feel that satisfying click. Take a look inside the port for any obvious fluff or dirt and carefully clean it out. If that doesn't work, grab a mic you know is working and test the port itself to rule out a hardware failure. -
Potential Cause 2: Software Settings
The operating system might have the microphone input muted, disabled, or even blocked by privacy settings that are a bit too enthusiastic. -
Solution:
Time to jump into the sound control panel on Windows or sound settings on macOS. Make sure the external mic is actually selected as the default input and check that its volume slider isn't at zero. It's also worth a look at the system's privacy settings to ensure the app you’re using has permission to access the mic.
Symptom: Persistent Buzz or Hum
Ah, the classic low-frequency hum. It’s the signature sound of electrical interference or a grounding issue, and it can make any audio recording totally unusable. For any AV pro, this is a top-priority fix.
-
Potential Cause 1: Ground Loop
This gremlin usually appears when you have multiple bits of kit plugged into different wall sockets. This creates a loop in the ground path which acts like an antenna for electrical noise. -
Solution:
The first step is to plug all your connected gear – laptop, mixer, the lot – into a single power strip. If the hum is still there, a ground loop isolator is your next port of call. It's a small, inexpensive adapter that goes in-line on the 3.5 mm cable and physically breaks the electrical loop.
A persistent hum is almost always an electrical issue, not a faulty microphone. The key is to isolate the source of the electrical interference by methodically checking the power and grounding connections of every component in the audio chain.
-
Potential Cause 2: Poor Shielding
Cheap, poorly shielded cables are magnets for electromagnetic interference (EMI) from nearby power lines, fluorescent lights, and even mobile phones. -
Solution:
Try moving the microphone cable away from any power cords. If the noise vanishes, you've found your culprit: dodgy shielding. The only real long-term fix here is to swap it out for a high-quality, properly shielded cable.
Got a Question? Quick Answers to Common Queries
Even with all the technical details down, you're bound to run into some head-scratchers on a job. Let's tackle some of the most common questions we hear from AV pros working with a 3.5 mm jack with microphone.
Can I Use a TRS Cable for a TRRS Microphone?
In a word, no. A standard TRS (Tip-Ring-Sleeve) cable is a one-trick pony with only three conductors. It simply doesn't have that crucial fourth line needed to carry the microphone signal from a TRRS headset. You might get audio out, but the mic itself will be completely dead in the water.
Why Is My Microphone Volume So Low?
Nine times out of ten, quiet mic-levels point to an impedance or signal-level mismatch. This is a classic issue when you plug a consumer-grade 3.5 mm mic straight into a professional audio interface or mixer which is expecting a much hotter, more powerful signal.
Of course, it could also be something simpler. Always dive into your device's sound control panel first. It's surprisingly easy for an input gain or volume slider to get knocked down by accident.
A quiet signal isn't always a sign of a faulty 3.5 mm jack with microphone. More often than not, it's the gear around it that isn't set up correctly to listen to what it has to say.
Will a 3.5 mm to USB Adapter Wreck My Audio Quality?
A good quality adapter shouldn't cause any noticeable drop in quality, especially for voice work. These little dongles have a tiny digital-to-analogue converter (DAC) and an analogue-to-digital converter (ADC) inside. The catch? Cheaper, uncertified adapters often use poor-quality converters that can introduce noise and hiss, killing your fidelity.
For professional results, stick with adapters from reputable brands you trust. It's just not worth the risk.
How Do I Stop Echo When I'm Recording?
That annoying echo, or mic-bleed, is just the sound from your headphones getting picked up by your microphone. It's a common headache, especially if you're using open-backed headphones or have the volume cranked too high.
Here’s how to shut it down:
- Go wired with your headphones: Ditch the Bluetooth for recording. It introduces a tiny delay (latency) that makes monitoring your own voice in real-time a nightmare and can create sync issues later on.
- Monitor your audio directly: If your mic has its own 3.5 mm monitoring port, use it! Plugging your headphones in there gives you zero-latency feedback, exactly as it sounds at the source.
- Grab some closed-back headphones: These are designed specifically to keep sound in, stopping it from leaking out and finding its way back into your microphone.
At Epic Audio Ltd, we've got the specialised hardware and the hands-on expertise you need to nail any audio installation. See our full lineup of professional audio solutions at https://epicaudio.co.uk.