
For anyone installing audio in small to medium-sized commercial spaces, the 4-channel mixer is an absolute workhorse. It’s the go-to bit of kit for blending different sound sources—think background music, a TV, and a microphone—into one clean, manageable output. It’s got just the right amount of control without being overly complicated, making it perfect for places like pubs, cafés, and retail shops.
Why a 4-Channel Mixer Is an Installer's Secret Weapon
As a professional installer, you know that a 4-channel mixer is more than just another box. It’s the solid, reliable heart of so many sound systems. Forget those massive, intimidating consoles you see at live gigs; a compact 4-channel unit gives you all the flexibility you need for most commercial jobs, without the confusing bells and whistles. Its main job is simple: act as a central hub, take in signals from your sources, let you balance the levels, and send the final mix out to the speakers.
That simplicity is its biggest advantage.
Let's picture a typical pub scenario:
- Channel 1: A media player for some background tunes to create a bit of atmosphere.
- Channel 2: The audio from the telly showing the big match.
- Channel 3: A microphone for the weekly quiz night or the odd announcement.
- Channel 4: A spare input for a guest DJ or an acoustic duo on a Friday night.
With four channels, you can juggle each of these sources on their own. This means announcements can be heard clearly over the music, and the TV sound won't drown out conversations at the bar. Getting this right is what makes a venue feel professional and welcoming. Knowing the technical side of sound is what helps create a great live experience, and it's also a big part of knowing what to look for in a great music venue.
The Power of Simplicity and Control
At its core, 4-channel mixing is all about understanding signal flow—the journey your audio takes from the input right through to the output. Getting a handle on this is what separates a messy, unreliable setup from a rock-solid professional installation. It’s not just about plugging cables in; it’s about routing audio intelligently for specific needs, like creating different audio zones in a building. We dive deeper into this concept in our guide to designing a multi room speaker system.
For any commercial space, the audio system must be dependable and dead simple for staff to use. A well-configured 4-channel mixer nails this brief, offering powerful control in a straightforward package that minimises user error and guarantees consistent performance, day in and day out.
And the demand for these versatile mixers is only getting stronger. The UK's professional audio sector is booming, and it's projected to grab 17% of Europe's market share by 2025. This growth is fuelled by the country’s massive network of over 250,000 hospitality outlets and 300,000 retail premises—nearly all of which need a reliable mixing solution to run their day-to-day operations.
Here's a quick look at where these mixers fit in the real world, helping you match the right setup to the project.
Real-World Applications for 4 Channel Mixers
| Venue Type | Input 1 Source | Input 2 Source | Input 3 Source | Input 4 Source (Optional) |
|---|---|---|---|---|
| Cafe/Coffee Shop | Background Music Player | Staff Announcement Mic | Tablet/Laptop Input | |
| Retail Store | In-Store Radio/Playlist | Promotional Announcement Mic | ||
| Pub/Bar | Music Player | TV/Sports Audio | Quiz Night Mic | Guest DJ/Live Performer |
| Small Gym | Instructor's Mic | High-Energy Music Player | Auxiliary Input for Phones | |
| Office/Reception | Background Music | Public Address Mic | Presentation Audio | Video Conference Sound |
This table just scratches the surface, but it shows how a simple 4-channel setup can tackle the most common audio needs across different commercial environments. It’s about giving the client exactly what they need—no more, no less.
Connecting Your Gear for a Flawless Setup
A tidy setup is the secret to reliable audio. So, let's move past the theory and get our hands dirty wiring up your 4-channel mixer for pretty much any commercial job, whether that’s standard speakers or a more complex 100V line system. Trust me, a clean, logical wiring loom from the get-go will save you a world of troubleshooting pain down the line.
First things first, get familiar with the inputs and outputs (I/O) on your mixer. Most installation mixers give you a few different connection types, and knowing which one to grab is vital for signal integrity.
Understanding Your Connections
You'll usually find a few standard connector types on the back of any mixer built for installations. Each has a job to do, and using the right one will head off a whole host of common audio gremlins like hums, buzzes, or signal loss.
- XLR: This is the pro standard for microphones. Its three-pin, balanced design is brilliant at rejecting electrical interference over long cable runs, making it perfect for connecting a dynamic mic for quiz nights or announcements.
- 1/4-inch Jack (TS/TRS): You'll see these for line-level sources like laptops, media players, or the output from a wireless receiver. A TRS (stereo) cable is what you need for stereo sources, while a TS (mono) cable handles mono signals to prevent any phasing weirdness.
- RCA (Phono): These are often found in pairs (red and white) and are the go-to for connecting consumer-level kit like CD players or the audio out from a TV.
- Phoenix/Euroblock: These green connectors are a firm favourite for permanent installations. They give you a secure, screw-down terminal for speaker wires, especially in 100V line systems where multiple speakers are chained together.
This flowchart shows the basic signal journey in any 4-channel mixing setup, from your sources right through to the final output.
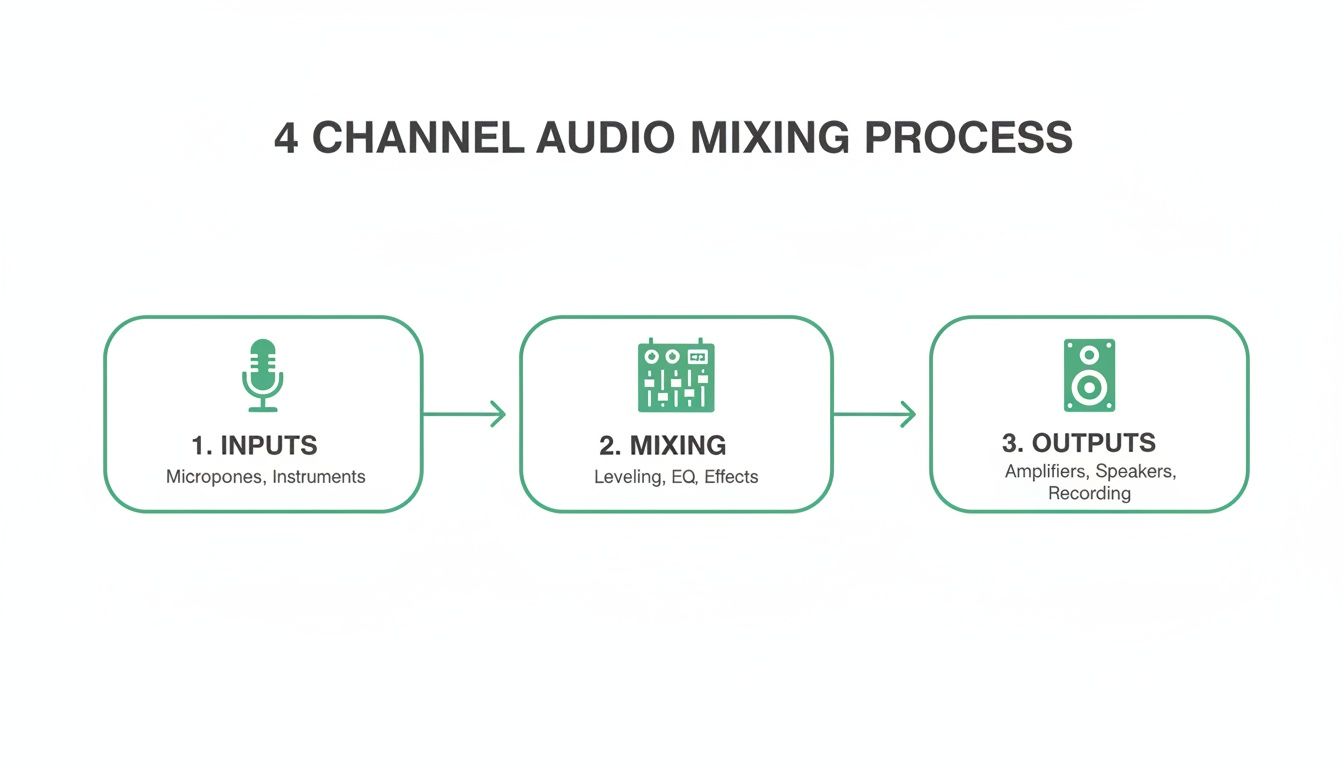
This simple flow—input, mix, output—is the fundamental principle behind every audio system you'll ever put together.
Wiring Common Audio Sources
Right, let's plug some typical gear in. A dynamic microphone, like a trusty Shure SM58, should always connect to a mic-level input using a balanced XLR cable. No exceptions. For a laptop or media player, a dual 1/4-inch jack to 3.5mm stereo cable is your friend. Just plug the jacks into two separate channels on your mixer, then pan one channel hard left and the other hard right to keep that stereo image intact.
Pro Tip: Always, always label both ends of every single cable. I know it feels like a chore, but when you're fumbling around in a dark equipment rack trying to fix a problem, you'll thank yourself. A cheap label maker can save you hours of sheer frustration.
When you're connecting multiple sources, it all comes down to building a clean signal path. This holds true whether you’re using a simple analogue desk or a more complex unit. For installers tackling more demanding routing needs, getting your head around the workflow of a digital audio mixer can offer some powerful insights into managing signal paths efficiently.
A well-organised setup isn't just about looking neat; it’s about ensuring reliability and making any future upgrades or maintenance a breeze. Your goal is a rock-solid installation that the client can depend on.
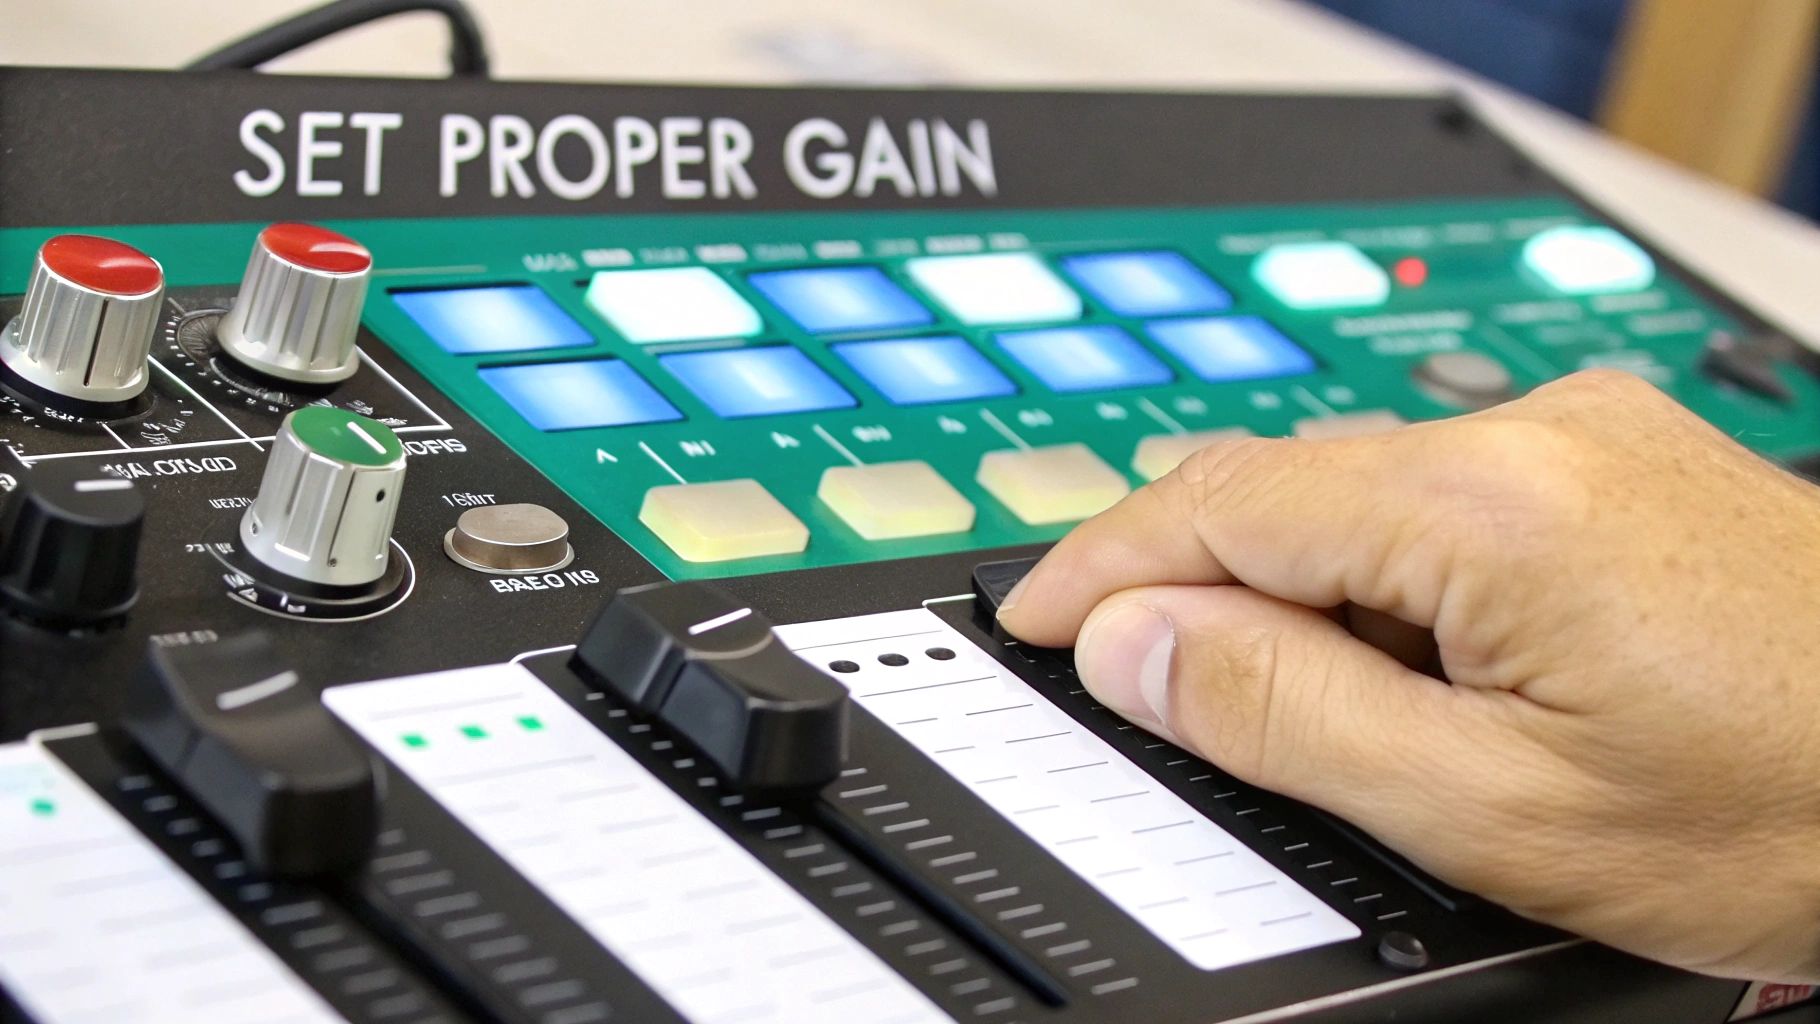
Achieving Crystal-Clear Audio with Proper Gain Staging
Getting your gain staging right is the single most important skill for a clean, professional mix. It’s the absolute foundation everything else is built on, yet it's probably the most misunderstood part of 4-channel mixing. Nail this process, and your audio will be strong and clear, without any of that nasty, unwanted noise or distortion.
So many installers get the channel gain knob and the fader confused. They do very different jobs. The gain knob—often labelled 'Trim' or 'Sens' (for sensitivity)—sets the input level. It boosts the raw signal coming from your microphone or media player to an ideal level for the mixer to actually work with. The fader, on the other hand, simply controls how much of that already-optimised signal gets sent to your main output mix.
Think of it like this: gain is the tap controlling the water pressure into your pipes; the fader is the tap controlling how much of that water comes out into the sink.
If the pressure is too low (not enough gain), you’ll have to crank the fader right up. This also brings up the noise floor, leaving you with a hissy, weak sound. But if the pressure is too high (too much gain), the signal will clip and distort long before it even reaches the fader. That creates a harsh, unpleasant sound you just can’t fix later on.
Setting Your Input Levels Correctly
The real key to perfect gain staging is setting the level for each channel individually before you even touch the main mix. This is where the PFL (Pre-Fader Listen) or Solo button becomes your best friend.
Here’s a practical walkthrough:
- First, turn the gain knob for the channel you're setting all the way down.
- Now, press the PFL/Solo button for that channel. This isolates it, sending its signal directly to your headphones and the main level meters. You're now seeing the raw input level, before the fader has any effect.
- Get your audio source playing at its typical volume. For a microphone, have someone speak into it normally. For a music player, play a track at the volume you intend to use.
- Slowly turn up the gain knob while keeping a close eye on the mixer’s main LED meters. Your goal is to have the signal consistently averaging around 0dB (usually marked in green or yellow), with the absolute loudest peaks just occasionally flicking into the orange.
- If that meter ever hits the red, you're clipping. Back the gain off immediately. Red means distortion, and distortion is the enemy of clear audio.
Once your gain is set for a channel, try to leave it alone. From here on, use the channel fader to make all your volume adjustments in the main mix. This simple discipline is the real secret to a clean signal path and a professional sound.
This process works for any source, but the amount of gain you'll need will vary. A sensitive lectern microphone might only need a tiny bit of gain to hit 0dB, which also helps prevent feedback. In contrast, a high-output music player might need very little gain at all to avoid clipping and preserve that precious headroom in your mix.
Just repeat this PFL process for all four of your channels. Do that, and you'll have a perfectly staged foundation for a crystal-clear mix, every single time.
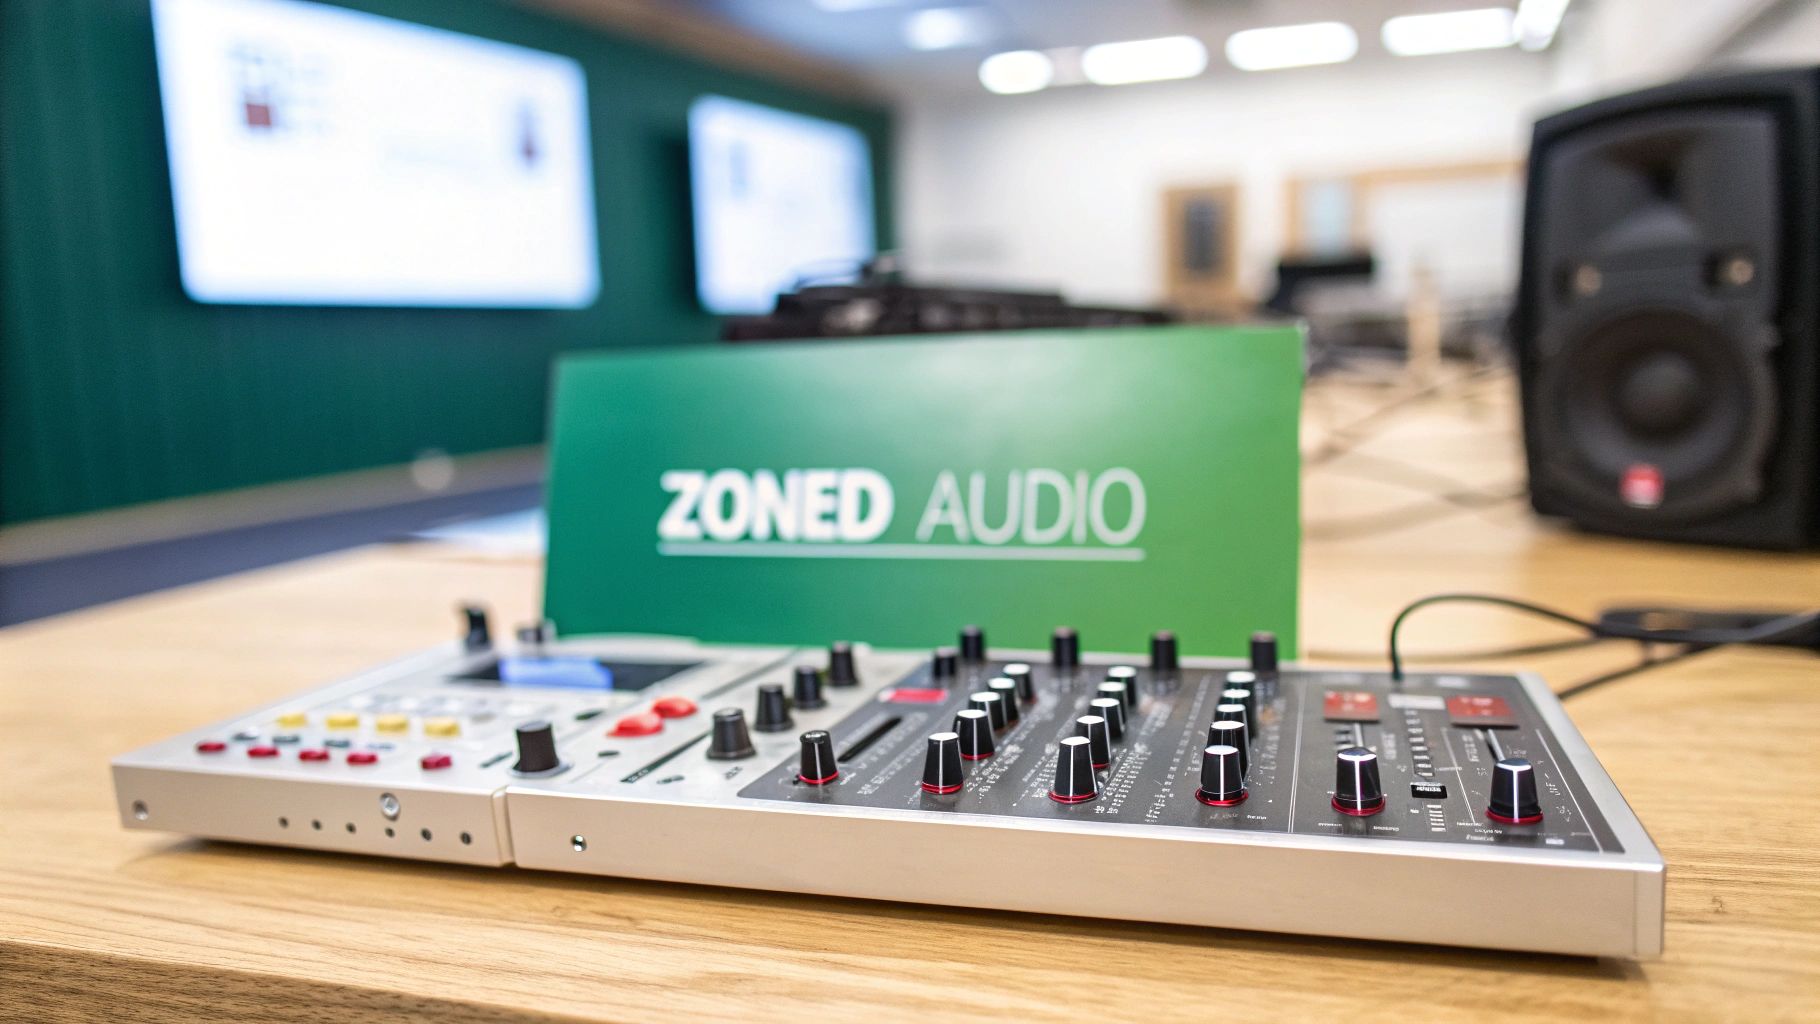
Using Routing and Processing for Zoned Audio Systems
Once you've got a clean, single mix dialled in, it's time to unlock the real power of 4-channel mixing: creating different audio experiences in different spaces. We call this zoned audio, and it’s a non-negotiable for venues like pubs with separate bar, dining, and patio areas. It’s all about sending the right sound to the right place, at the right volume.
A classic example is a pub needing loud, energetic music in the main bar but softer, more relaxed background music in the dining section. Trying to use a single master volume for both is just a recipe for unhappy customers. Your 4-channel mixer gives you the tools to manage this perfectly.
The secret lies in your mixer's routing capabilities. Many installation mixers have auxiliary (aux) sends or subgroups, which essentially act as secondary outputs. By using these, you can create a completely separate mix from your main output, tailoring the audio for each specific zone.
Creating Your First Zone Mix
Let's put this into practice. Imagine your main mix—the one controlled by the master fader—is feeding the lively bar area. You can then use an aux send to create a second, independent mix for the quieter dining room speakers.
- Look for an 'Aux 1' knob on each channel strip (e.g., your music player, TV audio).
- Turning this knob up sends more of that channel's signal to the Aux 1 output, totally independent of the main fader.
- This means you can turn the TV audio right down in the dining room mix while keeping the background music at a comfortable level.
This setup gives you incredibly granular control. The bar gets the full, dynamic mix, while the dining area receives a carefully balanced, non-intrusive audio feed. It's a simple yet powerful way to elevate the customer experience.
Applying Essential Audio Processing
Routing is only half the story. To truly refine the sound in each zone, you need to apply some basic audio processing. Even a tiny amount of Equalisation (EQ) can make a huge difference.
For instance, a microphone used for the pub quiz often sounds boomy and muddy. Applying a high-pass filter (HPF), sometimes labelled a 'low-cut' button, is the perfect fix. This simple processor just rolls off all the unnecessary low-frequency rumble, making speech instantly clearer and more intelligible.
Subtle EQ adjustments on your background music channel can also work wonders. A slight boost in the high frequencies can add sparkle and clarity, while a gentle cut in the mid-range can stop the music from sounding boxy or intrusive.
Don't overdo it. The goal of processing in a commercial installation isn't to dramatically reshape the sound. It's about making subtle tweaks that solve problems and enhance clarity. A little goes a very long way.
The demand in the UK for these sophisticated setups is growing fast. The audio equipment market, driven in a big way by 4-channel mixing in commercial spaces, is projected to surge from $1,195.95 million in 2024 to $3,172.95 million by 2033. For installers, this points to a huge opportunity, especially in leisure venues where multi-zone mixing helps maintain comfortable sound levels and adhere to noise regulations.
For more advanced zoning needs, dedicated audio matrix processors offer even greater flexibility. You can learn more about how to get the most out of an NMX audio matrix with tablet control in our detailed guide. By combining smart routing with thoughtful processing, you can transform a basic sound system into a truly professional audio solution.
Putting Theory into Practice: Solving Real-World Audio Problems
Knowing your way around a mixer is one thing, but troubleshooting on-site when the unexpected happens is what really separates the pros from the amateurs. Let’s walk through a few common scenarios that pop up on the job all the time, turning that textbook knowledge into practical, problem-solving muscle.
The Pub Quiz Hum: Taming the Ground Loop
Imagine this: you’re setting up a simple system in a pub for some background music and a quiz night mic. You power it all on, and there it is—a persistent, low-frequency hum contaminating everything. This is the classic sound of a ground loop, a frequent headache for installers everywhere.
This hum usually rears its head when different pieces of kit are plugged into separate mains sockets, which can create a difference in their ground potential. The solution is often surprisingly straightforward: try powering all your audio equipment—mixer, amps, source players—from a single, decent quality power distribution unit. Plug that into one wall socket, and often, the problem just vanishes.
The Coffee Shop Conundrum: Feedback and Distortion
Next, we’re in a small coffee shop that hosts acoustic nights. The performer plugs in their mic and guitar, but the moment the volume comes up, a piercing squeal rips through the room. That’s microphone feedback, and it happens when a mic starts picking up its own amplified signal from the speakers.
To get this sorted, here’s your game plan:
- Move the speakers. Get them in front of the microphone, not behind it or to the side. The goal is to physically break that feedback loop.
- Reach for the EQ. That squeal is a specific frequency going wild. Use the channel EQ—usually the 'Mid' or 'Hi-Mid' control—and gently cut the frequency until the feedback dies. A little sweep-and-cut goes a long way.
- Check your gain structure. Too much preamp gain makes the mic hyper-sensitive and far more likely to feed back. Dial it back.
Distortion is another common enemy. If that acoustic guitar sounds harsh and fuzzy, it's a dead giveaway for clipping. The signal coming from the guitar's pickup is too hot for the mixer's preamp. The quick fix is to hit the 'Pad' button on that channel if it has one. If not, just turn down the gain knob until that angry red 'Peak' or 'Clip' light stops flashing.
The professional audio-visual hardware market is a serious business, growing from $14,369 million in 2023 to a projected $20,943 million by 2030. Within this, dependable gear like 4-channel mixers is absolutely crucial, especially in the hospitality sector which makes up a massive 42.9% of all end-users. You can read more about the UK's evolving AV hardware market.
The Retail Store Paging Problem: Getting Heard Clearly
Finally, picture a retail store with a zoned sound system. The manager tells you that when they make announcements, the voice is muffled and gets lost in the background music. The issue here isn't volume, it's intelligibility.
Here’s a quick troubleshooting checklist to make those announcements cut through:
- Hit the High-Pass Filter (HPF). On the microphone channel, engaging the HPF (sometimes called 'Low Cut') instantly strips out muddy, unnecessary bass frequencies from the voice, making it much clearer.
- Use Priority Ducking. If your mixer has a priority input, that’s where the announcement mic should go. This feature automatically turns the music down whenever an announcement is made, then brings it back up again. Simple, but so effective.
- Apply a touch of EQ. A small, careful boost in the 2-4 kHz range on the mic channel can work wonders for vocal presence, helping it slice through the background noise.
By working through these real-world issues methodically, you stop being someone who just connects cables and become someone who truly engineers a great audio experience.
Your Questions on 4 Channel Mixing Answered
As installers and venue owners, you come up against specific challenges where a quick, practical answer makes all the difference. We’ve pulled together the most common questions we hear about 4 channel mixing to give you some direct, real-world advice. Hopefully, this helps you make smarter decisions on the job and when you're looking at new kit.
When Should I Choose a 4 Channel Mixer Over a Simple Amplifier?
You should be looking at a 4 channel mixer the moment you need independent control over more than one audio source. A basic amplifier is perfectly fine if you're just playing a single stream of background music from one place. It takes one signal and makes it louder. Simple.
However, the game changes when you need to blend a microphone for announcements, audio from a TV, and a music player. A mixer is non-negotiable in this scenario. It gives you dedicated control over each input's volume, tone, and where it gets sent—that's the foundation of any professional installation in a pub, cafe, or retail shop.
Can I Use a DJ Mixer for a Commercial Installation?
While you technically can, it’s almost never the right tool for the job. DJ mixers are built for performance. They're packed with features like crossfaders, phono preamps, and beat effects that are completely unnecessary in a fixed commercial installation and just add clutter. They are designed for active, hands-on use.
Commercial installation mixers, on the other hand, are engineered for reliability and simplicity. They often include features vital for public spaces, such as:
- Microphone priority ducking for clear announcements.
- 100V line outputs for driving long speaker runs without signal loss.
- Tamper-proof controls to stop staff or customers from messing with the levels.
For a dependable, set-and-forget system, a dedicated installation mixer is always the more robust and professional solution.
What Is Priority Input or Ducking on an Installation Mixer?
A priority input, which enables a feature called ducking, is a lifesaver for public address systems. It's an automated function that automatically lowers the volume of other audio sources—like background music—whenever it detects a signal on the designated priority channel.
Think of it in a pub setting: when a staff member uses the priority microphone to announce last orders, the music volume instantly and smoothly drops so the message is heard clearly. Once they stop speaking, the music automatically fades back up to its previous level.
This single feature automates a key function of 4 channel mixing, making the entire system foolproof for any staff member to use without needing any technical training. It ensures important announcements are never missed.
For all your commercial audio needs, from system design to supply, Epic Audio Ltd provides the expert support and leading brands to ensure your project is a success. Explore our full range of installation solutions.