
Ceiling speakers are a fantastic way to get high-quality, room-filling sound without the visual clutter of traditional box speakers. By embedding them directly into the ceiling, you get a clean, seamless finish that’s perfect for commercial spaces where aesthetics and floor space are at a premium. They're the go-to solution for delivering even background music or crystal-clear public address announcements.
Your Blueprint for Flawless Ceiling Speaker Installations

Think of this guide as your professional playbook for commercial ceiling speaker jobs. We’re moving beyond the basics to give AV installers and electrical contractors a complete rundown, from the first chat with the client all the way through to final sign-off. At the end of the day, a successful audio installation is one that's reliable, clear, and so well-integrated you barely notice it's there.
Getting this right is about more than just cutting holes and pulling wire. It’s about genuinely understanding the tech and the real-world challenges you'll face on-site. If you're documenting your own technical projects, this resource on how to create effective step-by-step guides is a great starting point for structuring your knowledge.
Understanding the Core Technologies
One of the first, and most critical, decisions you'll make is choosing between a 100V line and a low-impedance system. They are fundamentally different, and getting it right from the start is non-negotiable. We’ll walk you through the key differences so you can confidently specify the right setup for any job, whether it's a small boutique, a noisy restaurant, or a sprawling office complex.
This single choice dictates everything that follows—your amplifier, your cabling, even the speakers themselves. A 100V line system, for example, is the workhorse for covering large areas with lots of speakers and long cable runs. Low-impedance, on the other hand, is usually the choice for higher-fidelity sound in smaller, dedicated zones.
Strategies for Perfect Audio Coverage
This guide also gets practical, laying out real-world strategies for placing speakers to achieve that perfectly balanced, seamless sound. We'll cover the essential techniques you need to know, including:
- Power Tapping: Get this right, and you’ll have consistent volume levels across all zones without ever overloading the amplifier. We’ll show you how to set the wattage on each speaker correctly.
- Acoustic Considerations: Every space is different. We'll help you tackle common acoustic nightmares like cavernous high ceilings, reflective glass walls, and high background noise that can kill your audio quality.
- Speaker Dispersion: It’s crucial to plan your layout around the sound cone of each speaker. Proper overlap is key to eliminating those annoying audio dead spots and hotspots.
A well-planned installation accounts for the unique acoustic properties of a space before a single tool is picked up. This foundational work prevents costly and time-consuming adjustments later in the project.
This blueprint provides the groundwork for an audio system that not only meets but exceeds client expectations while adhering to rigorous UK standards. The same principles of zoned audio planning are just as vital in home setups, which you can read more about in our guide to designing a https://epicaudio.co.uk/blogs/guides/multi-room-speaker-system. Master these core concepts, and you’ll be set to deliver exceptional results, every single time.
Planning Your System: The Foundation of Great Audio
Let's be honest, a truly professional audio installation is won or lost long before you cut a single hole in a ceiling. The real work happens in the planning phase. This is where you take a client's brief and turn it into a technical blueprint that guarantees clear, reliable sound that just works.
The first, and biggest, decision you'll make is the system architecture. This choice dictates everything that follows, from your amplifier to the speaker cable you pull. For pretty much any commercial job, it boils down to one key question.
100V Line vs Low-Impedance Systems
Getting your head around the difference between 100V line and low-impedance systems is fundamental for any installer. Think of it like choosing between a lorry and a sports car – both are vehicles, but they're built for entirely different jobs.
A 100V line system is your workhorse for big areas with lots of speakers. We're talking supermarkets, warehouses, or long hotel corridors. Its high-voltage, low-current design means you can run ridiculously long lengths of relatively thin, affordable cable without any real signal loss. It also lets you daisy-chain a huge number of speakers onto a single amplifier channel, making it massively scalable and efficient for background music and public address.
On the other hand, a low-impedance system (your typical 4 or 8 Ohm setup) is all about high-fidelity audio in smaller, more focused spaces. This is what you'd spec for a high-end bar where the playlist is part of the brand, a boardroom with specific audio needs, or a restaurant's premium dining area. The trade-off? It demands much thicker, pricier speaker cable and more complex wiring. You'll often need a separate amplifier channel for just one or two pairs of speakers.
This quick-reference table should help clarify which system is the right tool for your next job.
100V Line vs Low-Impedance Systems Key Differences
| Feature | 100V Line System | Low-Impedance (4/8/16 Ohm) System |
|---|---|---|
| Best For | Large areas, long cable runs, many speakers | Smaller areas, critical listening, high-fidelity audio |
| Cabling | Thinner, less expensive, long runs are easy | Thicker, more expensive, runs should be kept shorter |
| Wiring | Simple daisy-chain (parallel) configuration | Complex series/parallel wiring to manage impedance |
| Sound Quality | Good for background music and speech | Excellent for foreground music and detailed audio |
| Flexibility | Easy to add more speakers to an existing line | Adding speakers requires careful impedance calculation |
| Example Use | Retail stores, schools, public transport hubs | High-end restaurants, home cinemas, meeting rooms |
Choosing the right system from the outset avoids so many headaches down the line. It ensures the system is not only fit for purpose but also cost-effective and scalable for the client's needs.
Mastering Power Tapping for Balanced Sound
Once you've opted for a 100V line system, the next trick is to get the volume levels right across the whole venue. That's where power tapping comes in. Every 100V ceiling speaker has a small transformer on the back with a few different power settings (you'll commonly see 6W, 3W, 1.5W, etc.). This lets you decide the maximum volume of each individual speaker.
Imagine you're kitting out a restaurant. You might set the speakers in the noisy bar area to their full 6W tap. Then, in the quieter dining section, you can dial them back to 3W. In the toilets? Just 1.5W is plenty. This creates a perfectly balanced and appropriate sound level across different zones, all running from the same amplifier channel.
The golden rule of power tapping is to make sure the total of all your speaker tap settings doesn't go over 80% of your amplifier's power rating. That headroom is crucial for preventing amplifier clipping and guaranteeing the system's long-term health.
Speaker Placement and Acoustic Realities
Finally, you have to deal with the room itself. The best system design on paper can sound awful if the speakers are in the wrong place or you ignore the room's acoustics.
- Speaker Coverage: Check the speaker's dispersion angle. A wider angle, say 120 degrees, means you need fewer speakers to cover a space. For a standard 2.4-metre ceiling, spacing speakers about 3-4 metres apart is a good starting point to create a seamless overlap of sound. No dead spots.
- Ceiling Height: Got a cavernous space like an atrium or a warehouse? You'll need more powerful speakers, or maybe models with a narrower dispersion to punch the sound down to where people's ears actually are.
- Room Materials: Hard surfaces are the enemy of good sound. Glass, concrete, and tiled floors create a horrible, echoey mess. In these "live" rooms, you'll often get better results by using more speakers set to a lower volume. This creates a more direct sound field and cuts down on those nasty reflections.
- Ambient Noise: Never forget what you're up against. A quiet office has totally different needs to a noisy factory floor. Your audio system has to be specified to be heard clearly above the everyday background noise of the environment.
Thinking through these core elements—system type, power management, and the physical space—is what separates the pros from the amateurs. This is how you avoid costly mistakes and deliver a final result that lives up to your client's (and your own) high standards.
Getting Hands-On: From Cutting to Cabling On-Site
Once the system is designed and the kit is specified, it’s time to get on the tools. The on-site installation is where a great plan becomes a physical reality, turning a blank ceiling into a source of high-quality, distributed audio.
Success at this stage is all about methodical, precise work. Every cut, connection, and test directly impacts the final performance and, ultimately, your client's satisfaction. Getting the physical install right the first time saves a world of headaches and snagging down the line.
A clear process is your best friend on any project, keeping you on track from the initial site walk to the final speaker placement.
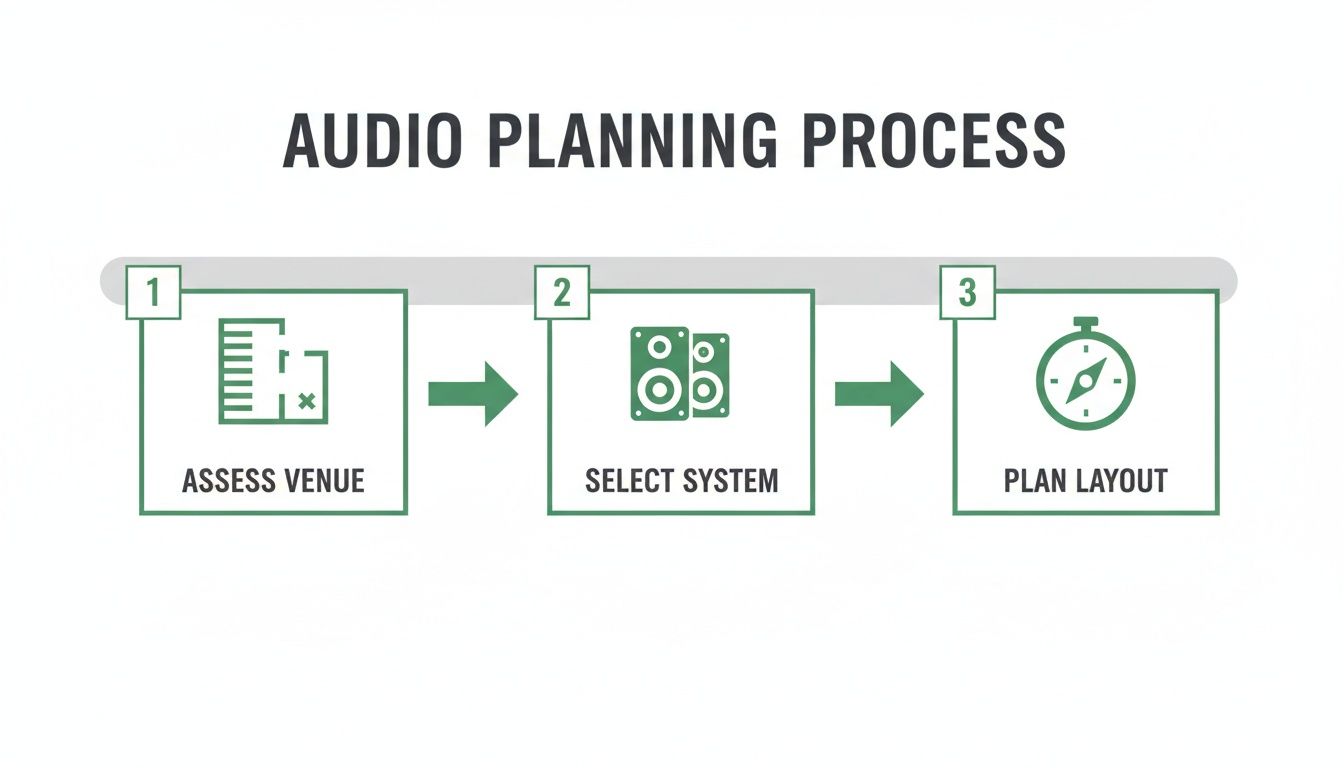
This workflow nails the fundamentals: first, assess the unique character of the venue. Second, select the right system for the job. Finally, map out the speaker layout to guarantee perfect coverage.
Marking and Cutting Speaker Holes
Making the first cut is the point of no return. The old adage "measure twice, cut once" has never been more relevant. Always, always use the cardboard template that comes with the speakers. Before you even think about drilling, double-check your planned positions against what’s actually in the ceiling void. A good stud finder and a cheap inspection camera are invaluable for spotting hidden pipes, wiring, or ductwork.
For plasterboard, a dedicated circular hole saw on a drill gives you the fastest, cleanest cut. If you're working with suspended ceiling tiles, a sharp utility knife is usually all you need to do the job neatly.
Pro Tip: When cutting into plasterboard, get someone to hold a cardboard box or a dust catcher underneath. It’s a simple trick, but it dramatically cuts down on the dust that gets everywhere, saving you a huge amount of time on clean-up.
If you’re fitting speakers into standard plasterboard, it pays to know the most secure ways to mount them. You can get a good rundown on the best fixings for plasterboard walls to understand your options.
The Critical Role of Backboxes and Fire Hoods
Never, ever install a ceiling speaker without thinking about what's behind it. A backbox or a fire hood isn't just an optional extra—it's absolutely essential for both safety and audio performance.
- Acoustic Performance: An open-back speaker in a vast ceiling void sounds weak, tinny, and lacks any real bass. A backbox creates a sealed enclosure, which controls the speaker cone and helps deliver the rich, full sound the manufacturer actually designed it to produce.
- Fire Integrity: In nearly all commercial builds, the ceiling is a designated fire barrier. Cutting a hole breaks that barrier. An intumescent fire hood is designed to swell up with heat, sealing the hole and restoring the ceiling's fire rating for 30, 60, or 90 minutes, keeping you compliant with UK building regulations.
- Sound Containment: Backboxes also stop sound from bleeding into the rooms above, which is a must-have in places like hotels, offices, or apartment blocks.
Skipping this step is one of the most common and serious mistakes you can make. It compromises safety and cripples the audio quality.
Mounting and Securing the Speakers
Thankfully, most modern ceiling speakers come with a brilliantly simple mounting system, often called “dog-ear” clamps. As you tighten the screws on the front of the speaker, plastic clamps swing out and grab the back of the ceiling material, pulling the speaker in for a snug, flush fit.
Just make sure the clamps engage properly and tighten them evenly to avoid bending the speaker frame. The goal is a secure fit with no visible gaps around the edge.
Running and Terminating Speaker Cable
Tidy, efficient cabling is the backbone of any reliable installation. For 100V line systems, the standard method is daisy-chaining. You simply run your cable from the amp to the first speaker, then from that speaker's terminals on to the next one, and so on.
This approach is incredibly efficient and keeps the amount of cable you need to a minimum. It’s also vital to use the correct cable type. For public buildings, you’ll often need a low-smoke, zero-halogen (LSZH) cable to meet safety standards. Always secure your cables properly in the void, and keep them well away from any mains power lines to prevent interference.
The growing demand for discreet, high-quality audio in UK commercial and hospitality settings has really driven the market forward. In fact, analysts predict the UK's in-ceiling speaker market will grow at a compound annual rate of around 7% through 2029. This trend is creating huge opportunities for AV integrators on projects that need seamless background music and PA systems.
While most commercial systems are still traditionally wired, it's always smart to keep an eye on emerging tech. Our guide on Power over Ethernet audio solutions offers some great context on where network-based systems are heading.
Initial Testing Before You Finish
Before you pop the grilles on and pack your tools away, you absolutely must test every single speaker. This quick check can save you an enormous amount of time and hassle later.
Hook up a simple tone generator or a music source and walk the room to make sure every speaker is working. For a 100V line system, you can also use an impedance meter to check the total load on the line. This instantly confirms you have no short circuits or open circuits and that the amplifier is seeing the load it expects. Finding and fixing a problem now, while everything is still exposed, is infinitely easier than troubleshooting a fully finished installation.
Navigating Safety and Regulatory Compliance in the UK
When you're installing commercial audio systems, your reputation isn't just built on sound quality—it's built on safety. For any professional installer working in the UK, getting to grips with regulatory compliance is non-negotiable. It's a legal and ethical obligation.
Ignoring these rules doesn't just put project sign-off at risk; it can risk lives and lead to some pretty severe legal consequences.
Honestly, understanding these standards is what separates a professional from an amateur. This isn't about box-ticking. It’s about making sure the systems you install are robust, reliable, and fundamentally safe for anyone in the building. Let's break down the key regulations you'll come up against when fitting ceiling speakers in UK commercial venues.
Maintaining Fire Integrity with Rated Components
Every time you cut a hole in a ceiling, you’re potentially compromising its ability to act as a fire barrier. In most commercial buildings, ceilings are designed to provide a specific level of fire resistance, usually 30, 60, or 90 minutes. This is a critical part of the building's overall fire containment strategy.
To maintain that integrity, you absolutely must use the correct fire-rated components.
- Fire Hoods: These are clever intumescent hoods that sit over the back of the speaker. If a fire breaks out, the material expands rapidly to seal the cutout you made, restoring the ceiling's fire rating and stopping flames and smoke from spreading through the void.
- Fire-Rated Speakers: Some speaker models come with integrated steel fire domes or backboxes that do the same job.
Putting a non-rated speaker into a fire-rated ceiling without a proper fire hood is a major breach of UK building regulations (specifically, Approved Document B). There's no grey area here; it's a non-negotiable part of any compliant installation.
Understanding EN 54 for Voice Alarm Systems
In a lot of public buildings—think transport hubs, shopping centres, and large venues—the PA system isn't just for background music. It's a life safety system. This is where the EN 54 standard comes into play as a legal requirement. It's all about Voice Alarm and Voice Evacuation (VA/VE) systems used to manage building evacuations in an emergency.
If you're working on a system that's going to be used for voice evacuation, every single component has to be EN 54 certified. You can't just use standard audio gear in a life safety system—it's illegal and incredibly unsafe. The system is only as strong as its weakest link.
For speakers, the relevant part of the standard is EN 54-24. A speaker certified to this standard will have a couple of key features designed for reliability in a fire:
- Ceramic Terminal Block: Your standard plastic terminal blocks will melt in a fire, which can cause a short circuit and take down the entire speaker line. Ceramic terminals can withstand extreme heat, keeping the connection live.
- Thermal Fuse: This is the failsafe. If a speaker is engulfed in flames and a short does happen, the fuse blows, isolating that single speaker from the line. This is crucial because it ensures the rest of the speakers in that zone keep working and broadcasting vital evacuation messages.
The control equipment for the system must also comply with EN 54-16. It’s vital to understand how these parts work together, and you can get a deeper dive by reading our guide on choosing the right amplifier for voice alarm systems.
UK Cabling Regulations and Best Practices
Finally, don't forget the cable. The wiring you use to connect everything is also subject to strict rules, particularly under the Construction Products Regulation (CPR). For any installation in a public space, the cable must have the right fire safety rating.
In almost every case, this means using Low Smoke Zero Halogen (LSZH) or an equivalent fire-resistant cable. When they burn, traditional PVC cables release thick, toxic black smoke and corrosive halogen gases. This stuff can obscure exit routes and cause serious harm to anyone trying to get out.
LSZH cable minimises this risk, making it the mandatory choice for public-access areas to help ensure a safer evacuation. Sticking to these safety and compliance standards protects property, saves lives, and cements your reputation as a trusted, professional installer.
Commissioning, Troubleshooting and Project Handover
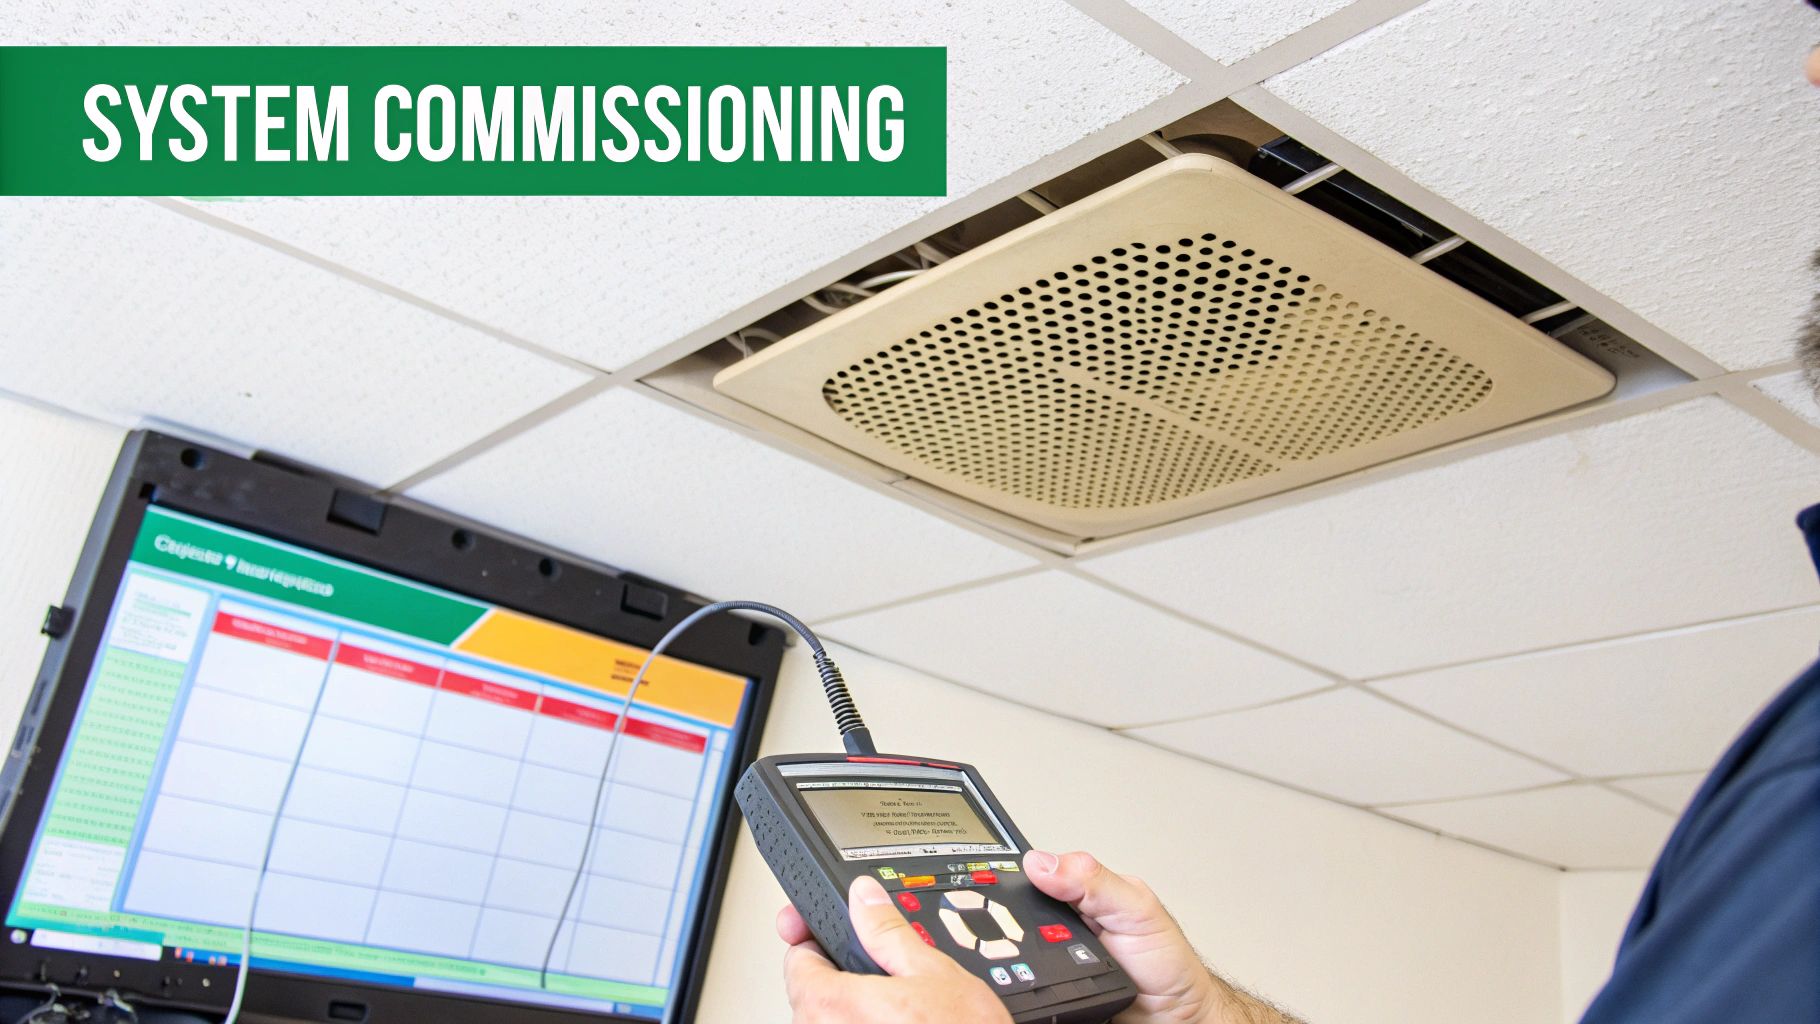
There’s a classic saying in the trade: the last 10% of the job takes 90% of the time. Getting the system installed is one thing, but it isn't finished until it's properly commissioned and the client is happy. This is where you transform a collection of hardware into a reliable, functional audio solution that just works.
Proper commissioning is all about meticulous testing and fine-tuning to make sure the system performs exactly as it was designed to. This process verifies everything from electrical safety to audio clarity, guaranteeing a professional handover and, crucially, preventing those frustrating call-backs later down the line.
Fine-Tuning The System Performance
With all the speakers in and wired up, the real audio work begins back at the amplifier rack. This is where you’ll be setting gains, applying equalisation (EQ), and configuring any specific audio zones. The goal is simple: deliver balanced, intelligible sound that’s perfectly suited to the environment.
First things first, set your amplifier gains correctly. You’re looking for a healthy signal level without any clipping or distortion. Next, it’s time to use the amplifier’s EQ settings to tailor the sound to the room’s unique acoustics. A great starting point for most commercial ceiling speakers is to apply a high-pass filter. This immediately cleans up the sound by cutting out excessive low-frequency rumble that can make speech muddy.
Have a good listen for any harsh frequencies, which often lurk in the mid-to-high range and can become fatiguing over time. A small, precise cut in the EQ at these points can make the system much more pleasant to listen to. Finally, give any paging microphones or zone controls a thorough test to ensure they operate exactly as expected, with the correct volume and priority settings dialled in.
Common Troubleshooting Scenarios
Even the most carefully planned jobs can throw up a curveball. Knowing how to quickly diagnose common problems is a vital skill that saves time on site and keeps the client’s confidence high. Here are a few frequent culprits and how to tackle them.
-
No Sound from a Single Speaker: Nine times out of ten, this is a simple connection issue. Check the terminations at the speaker itself and also at the previous speaker in a 100V daisy-chain. It's usually just a loose wire or a simple misconnection.
-
Entire Zone is Silent: This tells you the problem is further up the signal chain. Check the amplifier for any fault lights, double-check the speaker cable connection at the amp terminals, and make sure the correct source is selected with the zone volume turned up.
-
Distorted or Crackling Audio: This often points to an overloaded amplifier or a poor connection somewhere. The first check is to ensure the total wattage of your 100V speaker tappings doesn't exceed the amplifier's rating. If that's all good, carefully inspect connections for any stray strands of wire causing intermittent shorts.
-
Uneven Volume Levels: A classic 100V line issue. Go back and physically double-check that each speaker's power tapping has been set correctly according to your system plan. It’s surprisingly easy to miss one or set it to the wrong wattage during the installation rush.
A methodical approach to troubleshooting is your best friend. Start at one end of the signal chain—either the source or the last speaker—and work your way back logically. It’s far more efficient than guesswork and will pinpoint the root cause much faster.
The Professional Project Handover
The final step is handing the system over to the client, and this should be more than just showing them the on/off switch. A truly professional handover includes clear documentation and a quick training session on how to use their new system day-to-day.
Provide a simple, laminated user guide covering the basics, like selecting music sources, adjusting volumes in different zones, and using the microphone. Labelling the amplifier and any wall controllers clearly is a small touch that goes a long way in preventing confusion and user error.
Finally, walk the client through the finished installation. Let them hear it. Demonstrate its functionality and sound quality in each area. A thorough handover ensures they are confident and satisfied, concluding your project on a high note.
Got Questions About Ceiling Speaker Installs?
Even the most experienced pros hit a snag on-site now and again. When you get down to the nitty-gritty of mounting speakers in a ceiling, a few questions tend to pop up time and time again. We’ve pulled together the ones we hear most often from installers to give you clear, no-nonsense answers you can use on your next job.
This is all about cutting through the noise to help you make confident decisions and tackle those common challenges without missing a beat.
How Many Ceiling Speakers Do I Actually Need?
Getting the right number of speakers is a bit of a balancing act. It all comes down to the ceiling height, the speaker's dispersion angle, and what the space will be used for. There's no single magic number, but there are definitely solid guidelines to follow.
For general background music in a room with a standard 2.4 to 3-metre ceiling, a great starting point is to space speakers (with a typical 120-degree dispersion) about 3 to 4 metres apart. This creates a gentle overlap in their sound cones, which is absolutely crucial for even coverage. It stops you from getting those annoying dead spots where the audio seems to disappear.
A proper system design, often done with software like EASE, can model the room's acoustics perfectly. This takes you way beyond guesswork and guarantees you’ve got the ideal speaker placement and quantity for the venue, saving you time and money in the long run.
Now, if you're kitting out a lively bar or a space with high background noise, you'll need to tighten that spacing up or spec more powerful speakers to cut through the chatter.
Can I Mix Different Speaker Models on a 100V Line System?
You absolutely can. In fact, this flexibility is one of the biggest wins of a 100V line system. You can easily mix and match different speaker models and power ratings on the very same amplifier channel without getting bogged down in complex impedance calculations.
This is a lifesaver in multi-zone projects. Think about a typical hotel installation, for example:
- Discreet 6-inch ceiling speakers in the lobby and corridors.
- Moisture-resistant models in the spa and changing rooms.
- Tough, weatherproof horn speakers for the car park.
All of these can run happily off a single 100V amplifier. The only golden rule is to make sure the total wattage of all the speaker tappings combined doesn't go over about 80% of the amp's rated output. Leaving that headroom is vital for the system's long-term reliability.
What’s the Real Difference Between a Standard and an EN 54-24 Speaker?
From the outside, they can look almost identical, but under the bonnet, they are worlds apart. An EN 54-24 certified speaker is a specialist bit of kit, specifically designed and rigorously tested for use in Voice Alarm (VA) and life safety systems.
A standard speaker is built for audio quality. An EN 54-24 speaker is built for survival. The key differences are:
- Ceramic Terminal Block: Standard plastic terminals melt in a fire. The ceramic block in an EN 54-24 speaker withstands extreme heat, keeping the speaker line intact so critical messages can get through.
- Thermal Fuse: This is a crucial circuit protector. If a fire takes hold of the speaker, this fuse blows and isolates it from the line. This single action prevents a faulty speaker from shorting out the entire zone, which is critical for broadcasting evacuation announcements.
Using a standard speaker where an EN 54-24 certified one is legally required is a serious breach of UK safety regulations. More importantly, it compromises the integrity of the entire building's life safety system.
At Epic Audio Ltd, we have the technical know-how and the product range to support your most demanding projects. For help with system design or to get trade pricing on our full range of 100V line and EN 54-certified audio solutions, get in touch with our team.