
A well-designed outdoor loudspeaker system is about more than just playing music outside. It’s about delivering clear, consistent, and reliable audio in an environment that’s actively working against you. From overcoming ambient noise to surviving the elements, a successful installation depends entirely on solid planning.
Laying the Groundwork: Your Pre-Installation Blueprint
Before you even think about running cables or mounting brackets, the success of any professional outdoor audio job is decided right here, in the planning phase. This is where you take the client's brief and turn it into a rock-solid technical plan.
Cutting corners at this stage is a false economy. It almost always leads to poor sound, expensive do-overs, and a client who’s less than impressed. A thorough plan is your best defence; it helps you spot pitfalls before they become problems and ensures the final system doesn't just work, but genuinely excels.
It's a process of forensic discovery, digging into the space and how it will be used. I’ve always found it helps to break this down into three simple, logical steps: Survey, Design, and Specify.
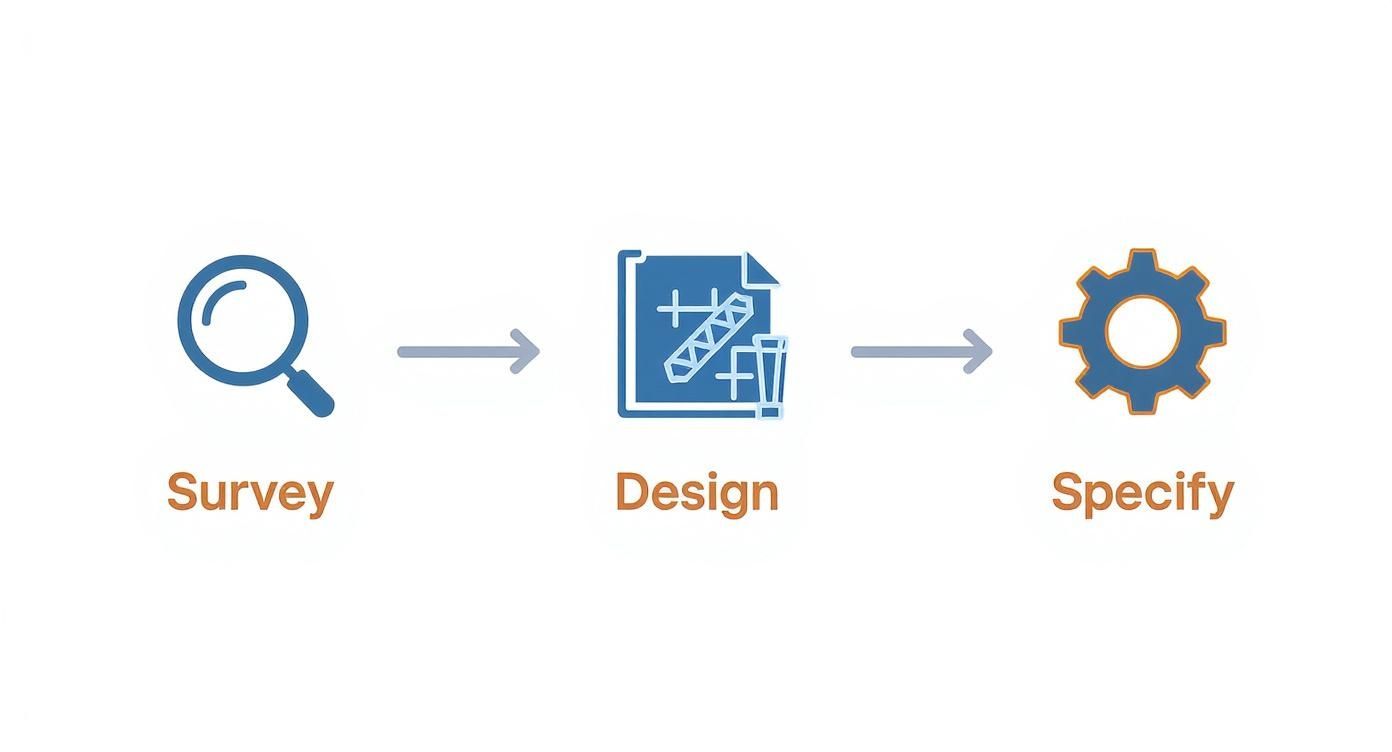
Each stage builds on the last, creating a strong foundation for the entire project. The survey gives you the raw data, the design turns that data into a working concept, and the specification nails down the exact kit needed to make it happen.
Getting Your Boots on the Ground: The Site Survey
Your first job, always, is to get on-site and walk the ground. This isn't a quick look-around; it's a detailed audit. Grab your notepad or tablet and start seeing the space not as a garden or a patio, but as an acoustic environment. Your mission is to map everything that could affect sound quality and the long-term health of the equipment.
Start by getting a feel for the acoustics. Are you dealing with large, hard surfaces like brick walls, glass panelling, or stone flagging? These are your biggest enemies, causing nasty reflections and echoes that will turn your audio to mush if you're not careful. On the flip side, look for 'soft' areas like lawns, flowerbeds, and hedges, as these will absorb sound and can create dead spots in your coverage.
Next, you absolutely have to measure the ambient noise. Is the site next to a busy A-road? Is it under a flight path? Is there a kids' play area next door? Getting a baseline reading of the noise floor is non-negotiable. It dictates the Sound Pressure Level (SPL) your system needs to hit just to be heard clearly, let alone make an impact.
The classic rookie error is designing a system in the peace and quiet of the office. A system specced for a tranquil residential garden will be completely lost in a bustling city pub garden next to a dual carriageway. You have to experience the site as it will be used.
Understanding the Brief and Zoning the Space
Once you’ve got a handle on the physical environment, it’s time to get inside the client's head. "We want music outside" is a starting point, not a brief. You need to ask the right questions to understand what the system really needs to do.
- Background Ambience: Is this all about creating a subtle, low-level vibe where the music enhances the atmosphere without getting in the way of conversation?
- Announcements & Paging: Does the system need to deliver speech with absolute clarity for public address or safety announcements? If that's a key requirement, our guide on Pro PA speaker systems is worth a read.
- Live Events & Entertainment: Or is this for high-energy playback? Think DJ sets or events that demand much higher SPL and a full-range sound.
With these goals defined, you can start carving the area up into distinct coverage zones. A hotel project, for instance, might need a quiet, low-volume zone for the poolside loungers, a medium-level zone for the al-fresco dining terrace, and a high-power zone on the events lawn. Each of these will likely need different types of speakers, different power levels, and maybe even separate user controls.
This level of detailed planning has never been more important. The demand for high-quality outdoor audio is booming across the UK and Europe, driven by a huge post-pandemic interest in upgrading outdoor entertainment spaces. This means clients have higher expectations, and manufacturers are innovating with tougher, more weather-resistant designs perfectly suited to the unpredictable British climate. As an integrator, delivering a well-designed, durable, and professional solution is key to standing out.
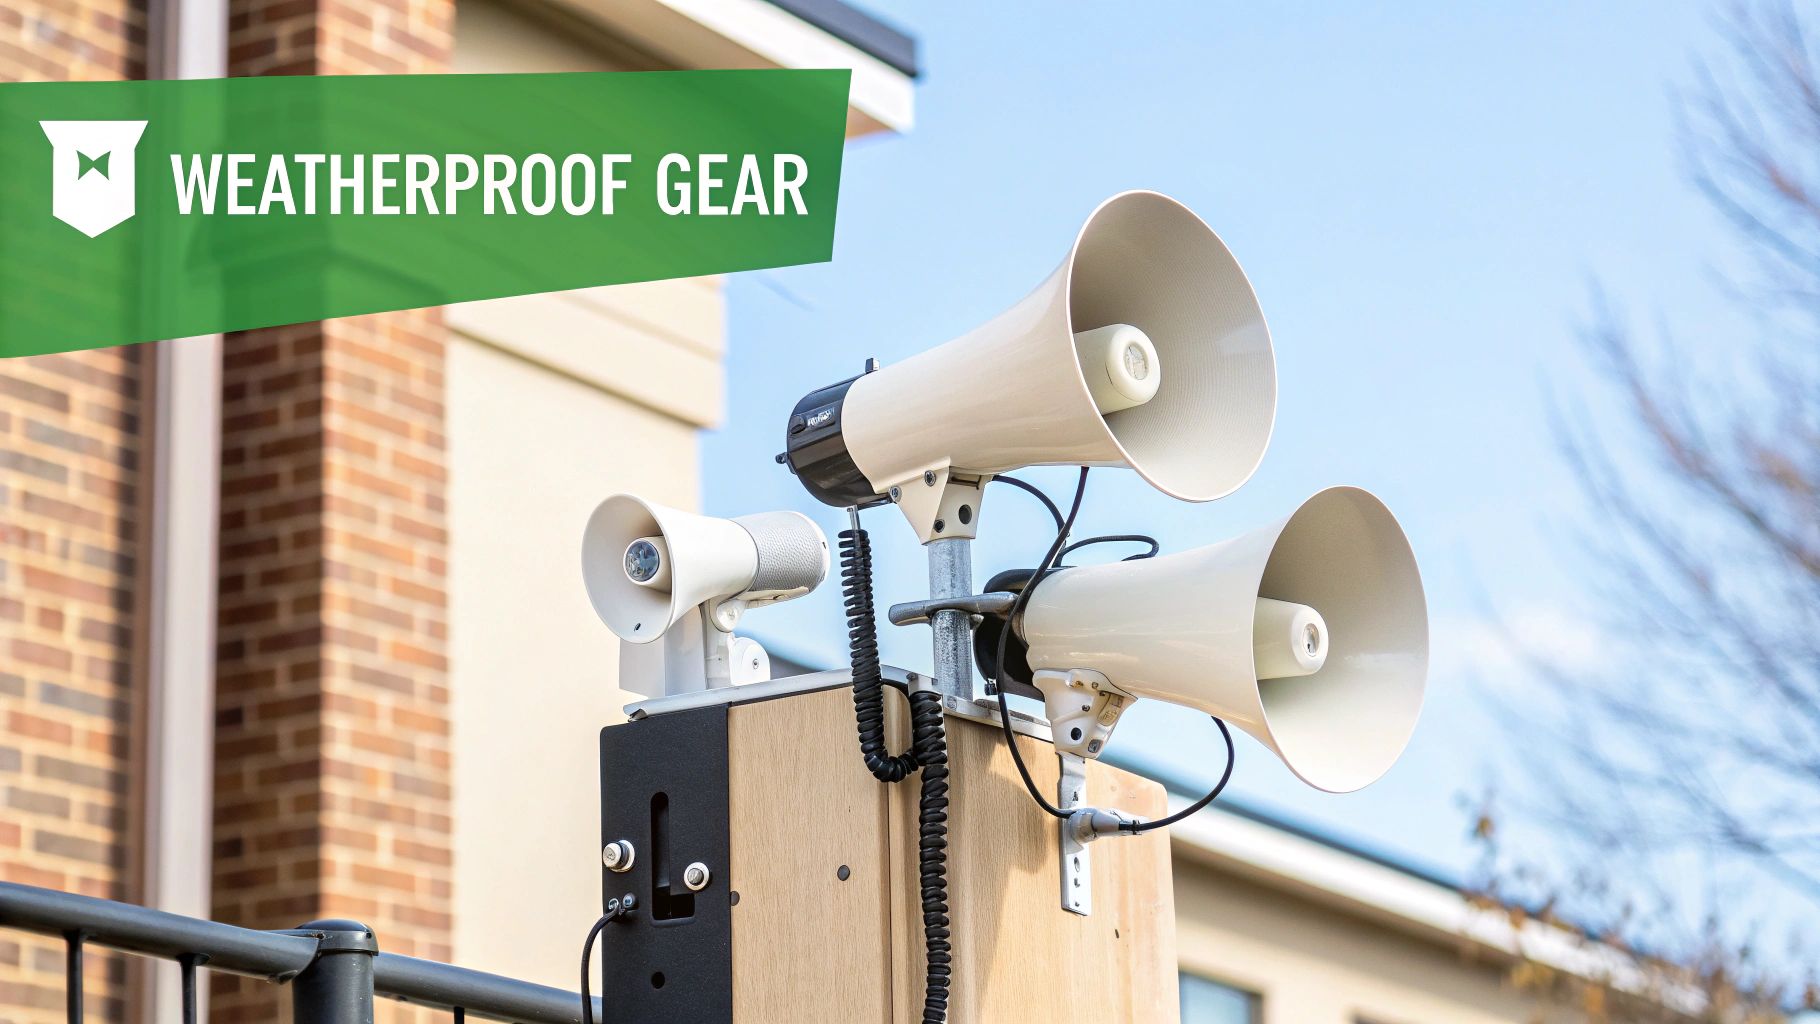
Choosing Hardware That Withstands the Elements
Selecting the right hardware is where the rubber meets the road. It’s the single biggest decision you’ll make, and it’s what separates a professional, long-lasting installation from a system that conks out after one bad winter. Outdoor kit isn’t just about making noise; it’s about surviving a constant onslaught of UV rays, driving rain, temperature swings, and dust.
This is where you move from the blueprint to the bill of materials. Every choice you make here directly impacts the system's performance, reliability, and lifespan. We're not just picking speakers; we're specifying an entire ecosystem of hardware designed to thrive in a pretty hostile environment.

Matching the Speaker to the Space
The term 'outdoor speaker' is a broad church. It covers a massive range of designs, and each one is engineered for a specific job. You can’t just grab any weatherproof box off the shelf and expect it to work. The physical form factor has to match both the acoustic goals and the aesthetic demands of the space.
- Surface-Mount Speakers: These are your trusty workhorses. They're brilliant for mounting on walls, under eaves, or on pillars, and they offer excellent sound quality for background music and paging on patios, terraces, and in pub gardens.
- Horn Loudspeakers: When you need to throw clear, intelligible speech over long distances and cut through high ambient noise, horns are unbeatable. Think sports grounds, train station platforms, or sprawling public squares. Their high efficiency means you can get serious SPL from less amplifier power, which is always a bonus.
- Pendant Speakers: Got an outdoor area with high or open ceilings, like a covered walkway or a big pergola? Pendants are the perfect solution. They bring the sound source down closer to the listener, which massively improves clarity and creates a more intimate feel.
- Landscape Speakers: These are the masters of disguise, often designed to look like rocks or small garden lights. They’re absolutely ideal for distributing sound discreetly throughout gardens, hotel grounds, and poolside areas, giving you lovely, even coverage without ruining the view.
Decoding Weatherproof and IP Ratings
"Weatherproof" is a marketing term, not a technical standard. If you want to know how tough a piece of kit really is, you need to look at its Ingress Protection (IP) rating. This two-digit code is the industry benchmark for defining how well an enclosure stands up to solids and liquids.
The first digit tells you about protection from solids (dust, dirt), and the second is all about liquids (water). For most outdoor jobs here in the UK, you should be looking for a rating of IP55 or higher.
- IP55: Protected from limited dust and low-pressure water jets from any direction. It’s a solid baseline for general outdoor use, especially if there's a bit of cover.
- IP66: Totally protected against dust and can handle strong jets of water. This is what you want for more exposed locations.
- IP67: Totally dust-tight and can even survive being temporarily dunked in water up to 1 metre deep. This is essential for any ground-level speakers in areas that might get puddles or even a bit of flash flooding.
A classic rookie mistake is thinking a high IP rating makes a speaker invincible. The rating applies to the enclosure itself. The real weak points in any installation are always the cable entry points and mounting hardware—they need their own meticulous weather sealing.
The Low-Z vs 100V Line Decision
This is one of the most fundamental choices you’ll make. The system architecture will either be a traditional low-impedance (Low-Z, typically 8-ohm) setup or a high-impedance 100V line system.
Low-Z systems are great for simple jobs with short cable runs and just a handful of speakers, offering absolutely superb audio fidelity. But the moment you need to cover a larger area with multiple speakers and long cable runs, a 100V line system becomes the only sensible, professional choice.
Why Go for a 100V Line System?
- Long Cable Runs: The high-voltage, low-current signal suffers far less power loss over distance. You can happily run hundreds of metres of cable with minimal signal degradation.
- Scalability: It’s dead simple to connect loads of speakers in parallel to a single amplifier channel, making it easy to build out large, distributed systems.
- Zone Control: The transformers on 100V line speakers often have multiple power 'taps'. This lets you set the volume of each speaker individually to perfectly balance levels across a big, complex site.
For big projects like sports tournaments or public venues, the sheer robustness and scalability of a 100V system are non-negotiable. When you're specifying the hardware, it's worth checking out some real-world examples of outdoor PA systems designed for challenging conditions to see what kit is built to perform, rain or shine. This approach makes sure your system can handle both the scale of the event and whatever the British weather decides to throw at it.
Getting Hands-On: The Physical Installation
Right, this is where the rubber meets the road. All that careful planning from the site survey and design phase now has to translate into a solid, real-world installation. A great install is all about precision and a healthy dose of foresight; even the most expensive speakers will sound rubbish if they’re poorly mounted, aimed, or connected. We're moving from paper plans to getting the tools out.
This part of the job is much more than just drilling a few holes and tightening some brackets. You’re building a system that has to withstand everything the British weather can throw at it, year after year, while sounding fantastic. Every single connection, mounting point, and cable run is a potential point of failure if it's not done to a professional standard.
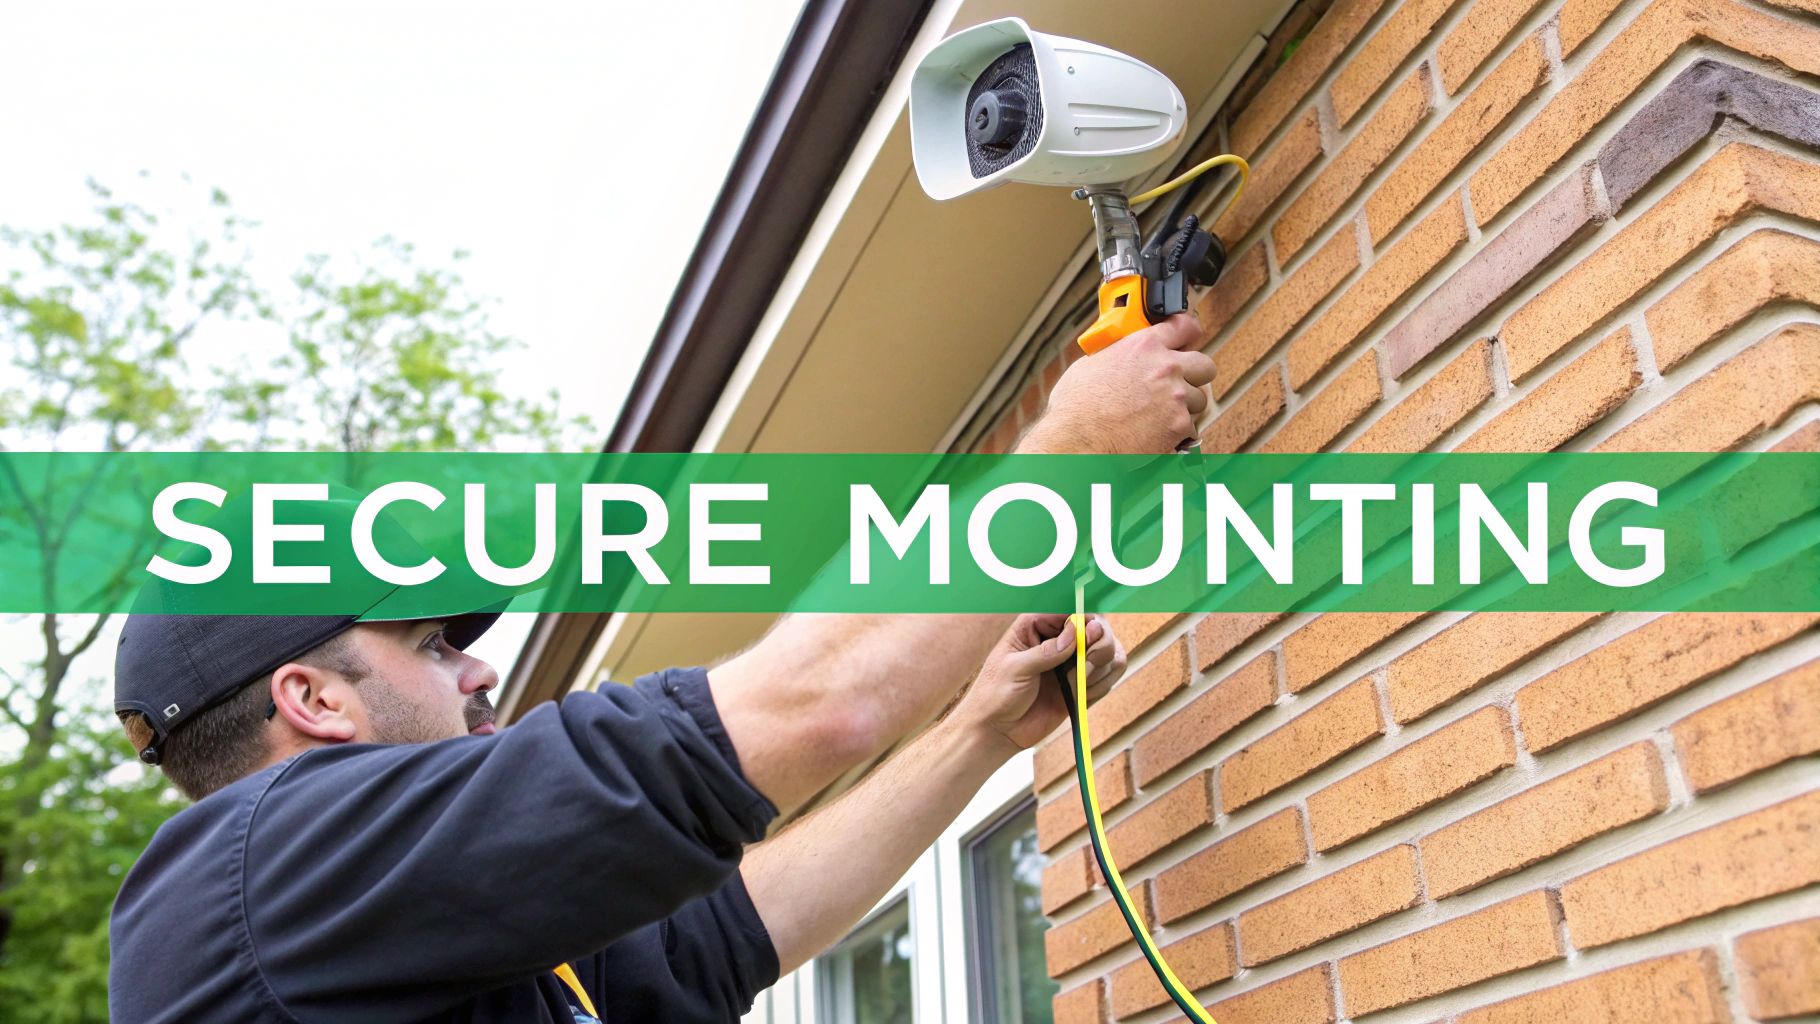
Speaker Mounting and Strategic Aiming
How and where you mount a speaker has a massive impact on its performance. The real goal here is twofold: get beautifully even sound coverage across the listening area, while making sure you don't start a war with the neighbours over noise pollution.
When you're fixing to hard surfaces like brick or blockwork, always use the right masonry fixings and check that the mount is rock-solid. For anything softer, like timber cladding, it's absolutely crucial to find a structural stud or beam behind it to anchor into. Just fixing to the surface cladding is a recipe for disaster—the weight and vibration will eventually work it loose.
The final aiming is just as critical. Angling speakers downwards towards the middle of the target area does more than just point the sound where you want it; it also dramatically reduces how far that sound travels.
A classic rookie mistake is mounting speakers high up and firing them straight out. That approach just lobs sound for miles, annoying everyone in the next post code and creating a thin, weak sound for the people you actually want to hear it. A steeper downward angle is your friend—it keeps the audio energy contained right where it needs to be.
Cable Runs and Watertight Connections
Think of your cabling as the system's lifeline. It has to be built to last, and moisture is its number one enemy. Every inch of your cable run and every connection point must be completely sealed against the elements.
For runs across gardens or through flowerbeds, you've really got two solid options:
- Direct-Burial Cable: This stuff has a tough, UV- and moisture-resistant jacket. Just make sure you bury it deep enough that it won't get chopped by a spade or lawn aerator a few months down the line.
- Conduit: This is my preferred method. Running standard outdoor-rated speaker cable inside a plastic or metal conduit gives you far better protection from accidental damage. It also makes life much easier if you ever need to pull new cables in the future.
Whichever way you go, the connection points are where you need to be paranoid. Always use specialist grease-filled wire nuts or adhesive-lined heat shrink tubing. You need to create a 100% waterproof seal at every speaker terminal and junction box. It's definitely more involved than wiring up indoor speakers, but the principles of a secure, reliable connection are the same, as we touch on in our practical guide to mounting ceiling speakers.
Earthing and Surge Protection
Proper earthing (or grounding) is a critical safety step that, frankly, gets overlooked far too often in outdoor audio jobs. A good earth connection provides a safe path for any stray electrical current, protecting both your expensive equipment and, more importantly, people from potential shocks.
But it's not just about safety. A solid earth is essential for clean audio. It helps kill the hum and buzz that can be caused by ground loops or other electrical interference. If you have any mains-powered gear outdoors—like an amplifier in a weatherproof box—you must ensure the earthing complies with all current electrical regulations. No exceptions.
It's also well worth thinking about surge protection, especially on larger or more critical systems. Outdoor installs are naturally more vulnerable to electrical surges from things like nearby lightning strikes. A surge protection device (SPD) on the mains supply is a small upfront cost that can save you thousands in fried equipment down the line. It's cheap insurance.
Powering and Controlling Your Outdoor Sound
Even the most robust, perfectly aimed speakers are just lumps of plastic and metal without the right electronics driving them. The amplifier and processor are the heart and brains of any professional outdoor sound system; they deliver the muscle for volume and the intelligence for clarity.
This is the point where we move from the physical install to the electronic architecture. Getting this part right transforms a collection of individual speakers into a coherent, controlled, and protected audio solution. It’s about more than just making it loud; it's about making it sound good everywhere, protecting your client's investment, and giving them simple, intuitive control. Your choices here will define the system's day-to-day performance and its long-term reliability.
Low-Impedance vs 100V Line System Decision Guide
One of the first big decisions is whether to go with a traditional low-impedance (low-Z) setup or a 100V line system. Low-Z is fantastic for short cable runs and high-fidelity sound, ideal for a premium patio system. But for larger areas with many speakers, 100V line is almost always the more practical and cost-effective choice.
This table should help you make the right call on the ground.
| Factor | Low-Impedance (8 Ohm) | 100V Line System |
|---|---|---|
| Best For | High-fidelity sound over short distances; small speaker counts. | Large areas, long cable runs, and many speakers. |
| Cable Runs | Short. Significant power loss on long runs. | Long. Minimal power loss over hundreds of metres. |
| Cable Gauge | Thick, expensive speaker cable required. | Thinner, more affordable cable can be used. |
| Speaker Wiring | Complex parallel/series calculations to manage impedance. | Simple parallel wiring, just add up wattage tappings. |
| Audio Quality | Excellent, full-frequency response. | Good, but can have a slightly reduced frequency response. |
| Scalability | Difficult. Adding speakers requires recalculating the entire load. | Easy. Add more speakers as long as the amp has power. |
| Typical Use | Hi-Fi patio systems, high-end residential gardens. | Pub gardens, school grounds, shopping centres, transport hubs. |
Ultimately, the choice comes down to the scale and goals of the project. If it's a compact, high-quality residential install, low-Z is a contender. For almost everything else in the commercial outdoor world, 100V line is the professional standard for a reason.
Matching Amplifiers to the Speaker Load
Choosing an amplifier starts with some straightforward maths. For a 100V line system, you just add up the total wattage of all the speaker tappings. So, if you have ten speakers all tapped at 10W, your total load is 100W.
Here’s the golden rule: always spec an amplifier with at least 20% headroom above your total speaker load. For that 100W system, you need an amplifier rated for at least 120W.
This headroom isn't just for show. It ensures the amplifier isn't constantly red-lining, which generates excess heat, introduces nasty distortion, and dramatically shortens its lifespan. That 20% buffer provides clean power and gives you wiggle room to add another speaker later if the client's needs change. It’s also crucial to ensure all connections are safe and compliant; always consult up-to-date regional guidelines, like the Australian electrical wiring standards for any projects down under.
For larger, more complex sites, a multi-zone amplifier is a no-brainer. These units let you create distinct audio areas—like a restaurant terrace, a bar garden, and a waiting area—and control the volume and source for each one independently from a single box.
The Power of Digital Signal Processing
A Digital Signal Processor (DSP) is your secret weapon for taming the acoustic chaos of an outdoor space. While the amp provides the raw power, the DSP provides the finesse, letting you sculpt the sound with surgical precision.
Key DSP functions you'll lean on heavily are:
- Equalisation (EQ): Essential for correcting the frequency response. Outdoor spaces lack the natural bass reinforcement of a room and can suffer from harsh reflections. A bit of careful EQ restores warmth and tames any shrillness, making the whole system much more pleasant to listen to.
- Limiters: These are non-negotiable for protecting your speakers. A limiter acts as a safety ceiling, clamping down on sudden loud signals—like a dropped mic or feedback squeal—before they can send damaging voltage spikes down the line.
- Delay: In big, distributed systems where listeners can hear multiple speakers, delay is critical. By slightly delaying the signal to the nearest speakers, you can align the audio so it arrives at the listener's ears from all directions at the same time. This creates a clear, coherent sound image instead of a messy, echoing mush.
A well-configured DSP is what separates an installation that just "works" from one that sounds truly professional. It’s the tool that lets you fine-tune the system to the unique acoustic signature of the site.
User Control and System Integration
The most technically perfect system in the world is useless if the client finds it too confusing to operate. The final piece of the puzzle is a simple, intuitive user interface.
This could be a straightforward wall-mounted volume knob for a pub garden or a slick tablet app that gives staff granular control over multiple zones. More and more modern amplifiers are network-enabled, which opens up huge possibilities for control. In some cases, exploring developments in Power over Ethernet audio solutions can offer a much cleaner installation for control panels and other network endpoints.
This focus on high-performance, user-friendly systems reflects a real demand. The UK's outdoor speaker market is a huge growth driver within the country's overall speaker industry, which hit an estimated value of USD 1.17 billion in 2024. As more businesses and homeowners invest in their outdoor spaces, the need for expertly designed and controlled audio is only going to increase.
Right, the last speaker is fixed in place and the cables are all neatly terminated. Job done? Not even close.
This final stretch—commissioning and setting up a long-term care plan—is what really separates the pros from the cowboys. This is where you prove the system not only works but performs exactly as you designed it to. It's your final sign-off, ensuring you hand over a system that’s robust, reliable, and ready for whatever the elements throw at it.
Skipping this part is a rookie mistake. You're leaving the system unverified, potentially unbalanced, and frankly, vulnerable to an early grave. A proper, methodical commissioning process confirms every single component is pulling its weight, and a clear maintenance schedule cements your reputation as an integrator who delivers lasting quality, not just a quick fit-and-forget job.
Think of it as your quality assurance stamp on the entire project.
The Commissioning Checklist
Before you even think about handing over the keys to the client, a full system diagnostic is non-negotiable. I’m not talking about just playing some music to see if sound comes out. This is a deep dive, a step-by-step check of every single part of the signal chain. You’ll want your signal generator, a trusty multimeter, and a decent sound pressure level (SPL) meter on hand. Then, work through the system logically.
Here’s what I always run through on-site:
- Wiring and Polarity Checks: Get your boots on the ground and visit every single speaker. A quick pop test with a polarity checker confirms every driver is moving in sync. Get this wrong, and you’ll have out-of-phase speakers creating horrible cancellations, killing your low-end and leaving the sound thin and weak.
- Amplifier Channel Verification: Fire up a test tone and send it to each amplifier channel, one at a time. Then, walk the site and listen. You should only hear sound from the speakers in that specific zone. This is your chance to catch any miswires back at the rack before the client discovers them for you.
- Impedance Load Measurement: This is crucial for 100V line systems. Get an impedance meter on each channel and check the load. Is it what you calculated? This is your final confirmation that the total speaker wattage is comfortably within the 80% safe operating margin of the amp’s power rating.
- User Control Functionality: Now for the client-facing bit. Test every single control point. Does that weatherproof wall panel in the beer garden actually control the beer garden speakers? Does the tablet app connect properly? Press every button, move every slider, and confirm it all works exactly as intended.
Verifying Coverage with an SPL Meter
This is the moment of truth, where your on-paper design meets the cold, hard reality of the outdoors. You did the calculations to ensure the system would cut through the ambient noise and deliver the right levels everywhere. Now it's time to prove it.
Grab your calibrated SPL meter and start walking. Play pink noise through the system at a set reference level and take readings across all the key listening areas you defined in your plan. You’re hunting for consistency. Are there any dead spots you didn't anticipate? Or any 'hot spots' that are way too loud?
A few dB of variation here and there is normal, but if you find a sudden drop-off of more than 6dB between two points that should sound the same, you’ve got a problem to investigate. It could be anything from a speaker that’s been knocked off-axis to a dodgy transformer tapping on one of the units.
This isn’t just about fault-finding; it’s about fine-tuning. A speaker might need a tiny nudge to the left, or a particular 100V tapping might need to be dropped down a notch to get the balance just right. This data-driven approach is what delivers a genuinely professional, even-sounding result that clients will notice.
Planning for Longevity: Proactive Maintenance
Let's be honest, an outdoor speaker system has a tough life. It’s constantly battling moisture, UV rays, huge temperature swings, and all sorts of dust and dirt. If you just walk away, its performance is going to degrade—it’s inevitable. Providing the client with a simple, actionable maintenance schedule is the mark of a top-tier integrator.
Your handover pack should include a clear checklist for periodic inspections. This gives the client the confidence to handle the basics themselves and helps them know when it’s time to call you in for a proper service.
Recommended Annual Maintenance Tasks
- Visual Inspection of Hardware: Put eyes on every single mounting bracket and safety wire. Give them a physical check to ensure all nuts and bolts are tight and there are no signs of serious corrosion. A bit of surface rust is often just cosmetic, but anything that looks deep-seated needs sorting out, sharpish.
- Clean Speaker Grilles and Enclosures: Grilles get clogged with dust, pollen, and spiders' nests, which absolutely suffocates the high frequencies. A soft brush and a damp cloth are usually all that’s needed to bring them back to life.
- Inspect Cable Connections: Check every exposed terminal and junction box. You're looking for any sign of water ingress or corrosion. If a gland looks perished or a seal is broken, it needs to be fixed immediately before moisture gets a chance to wick its way down the cable.
- Full System Functionality Test: Run through a simplified version of your original commissioning tests. Play some audio through each zone, make sure every speaker is still working, and give the user controls a quick run-through.
By setting out a clear plan for long-term care, you’re doing more than just finishing a project. You're building a relationship. A system that’s looked after will perform brilliantly for years, acting as a constant reminder of the quality and professionalism of your work.
Got Questions About Outdoor Audio? We've Got Answers
Even the best-laid plans run into snags out in the field. Every outdoor loudspeaker job throws up its own little quirks and questions that you won't find in a standard product manual. So, we've gathered some of the most common queries we hear from integrators on the ground.
Think of this as your practical, boots-on-the-ground troubleshooting guide. These are the things we've learned from years of seeing what works—and what doesn't—in the real world of outdoor audio.
How Should I Space Speakers for Even Coverage?
Getting that smooth, consistent sound is all about placement and overlap. For your typical background music setup in a pub garden or hotel terrace, a good starting point is to space your speakers about 2.5 to 3 metres apart. This approach creates a lovely, distributed network of sound that blankets the whole area without any annoying dead zones.
If you want to get a bit more technical, dig out the speaker's datasheet and look for the dispersion angle – you'll usually see something like 90° x 90°. The goal here is to arrange the speakers so their coverage patterns overlap by around 10-20%. That little bit of overlap is the secret sauce; it stops you from getting noticeable gaps in the sound and kills off those 'hot spots' where the audio is way too loud.
Here's the core principle we always come back to: a distributed system with more speakers running at a lower volume will always sound better than a few speakers cranked up to the max. It’s how you create an immersive, pleasant atmosphere rather than just blasting noise at people.
What's the Most Common Point of Failure?
By a country mile, the number one killer of outdoor audio gear is water getting in at the cable connection points. An IP-rated speaker is only as tough as its weakest link, and a shoddily sealed connection makes that rating completely pointless. Your speaker might be rated IP67, but if the terminals are left exposed to the elements, it's not a matter of if it will fail, but when.
You have to be absolutely meticulous with your connections.
- Always use direct-burial, grease-filled wire nuts for any joins that are going underground.
- Stick to proper weatherproof junction boxes, making sure the cable glands are fitted correctly.
- Seal every single connection with adhesive-lined heat-shrink tubing. This creates a bond that's completely watertight.
The next biggest culprit? Physical cable damage from over-enthusiastic gardeners or curious pests. This is exactly why we always recommend running your cables through a rigid conduit. It’s simply the most professional and reliable long-term solution.
Can I Mix Different Speaker Brands on a 100V Line?
Yes, absolutely. This is one of the most practical and powerful advantages of designing a 100V line outdoor loudspeaker system. You can happily mix and match different brands and types of speakers on the very same amplifier channel without a single problem. This freedom means you can use a powerful horn speaker for long-throw announcements in one zone, and some discreet landscape speakers for background music in another, all running from the same cable.
There's just one golden rule to follow: the total wattage of all the speaker transformer tappings must not exceed 80% of the amplifier's rated power. For example, on a 240W amplifier, the sum of all your speaker taps shouldn't be more than 192W. Sticking to this gives you crucial headroom, stops the amplifier from being overdriven, and guarantees clean, reliable performance for years to come.
At Epic Audio Ltd, we provide the specialised hardware and expert support UK integrators need to deliver exceptional outdoor audio projects. From IP-rated 100V line speakers to multi-zone amplifiers and DSPs, we have the solutions to meet any challenge. Explore our full range of installation audio equipment at epicaudio.co.uk and let our team help you design your next system.